DIY ~ Make Music Sheet Christmas Trees
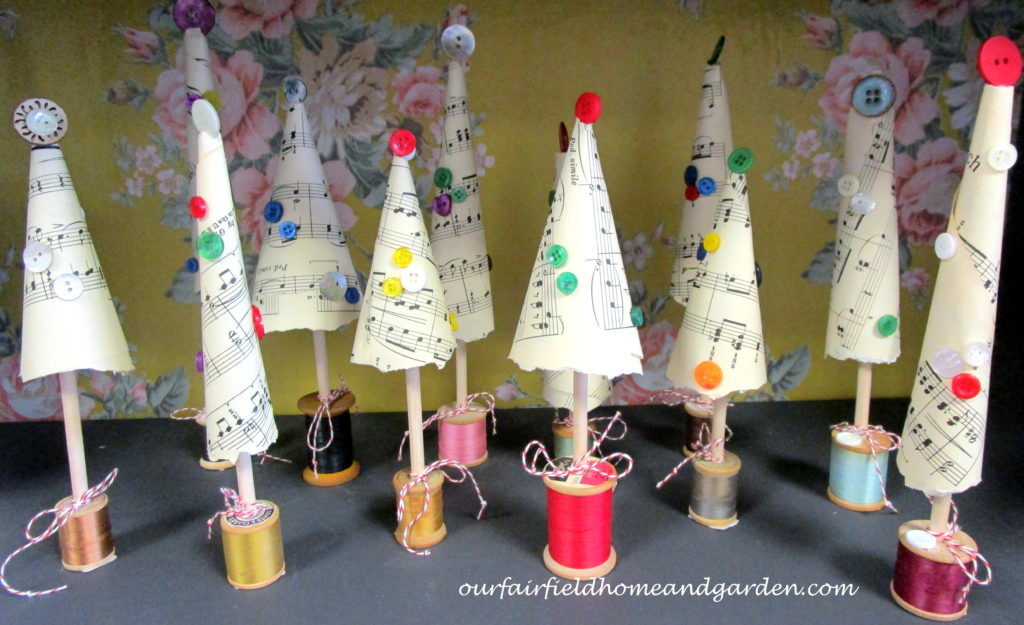
Recently, I saw some little Christmas trees made with just paper, a wooden dowel, a spool of thread and some buttons. I couldn’t find directions, so I fooled around and figured them out for myself. Here’s what I came up with so you don’t have to reinvent the wheel yourself! Aren’t they just as cute as a button? :) And, they are easy to make, too!
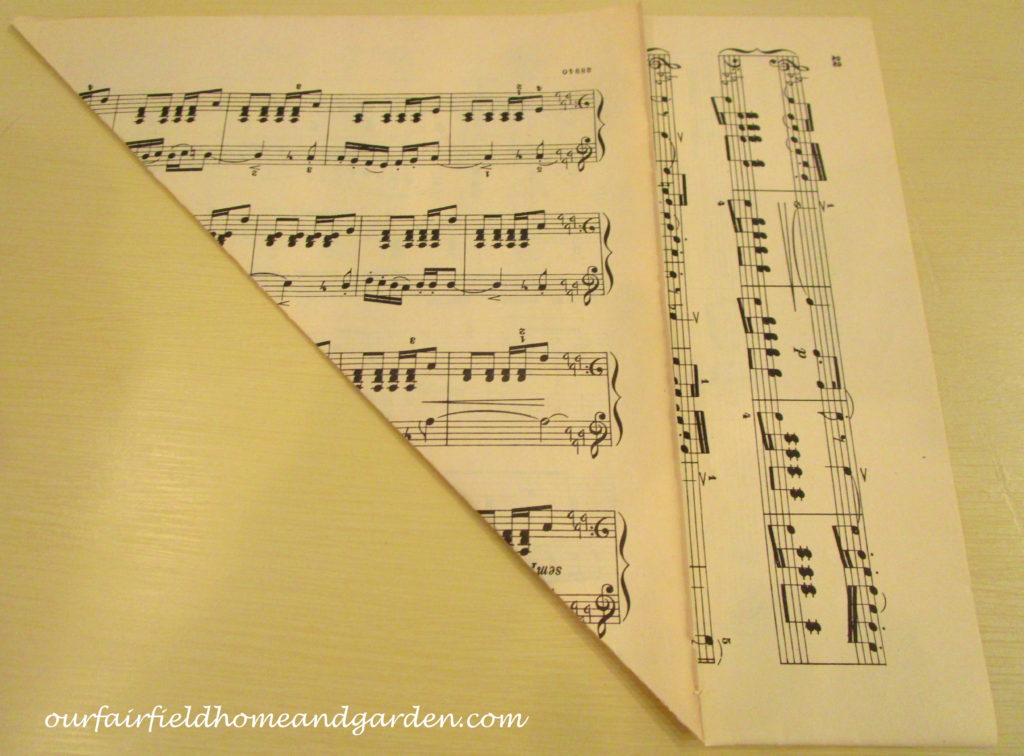
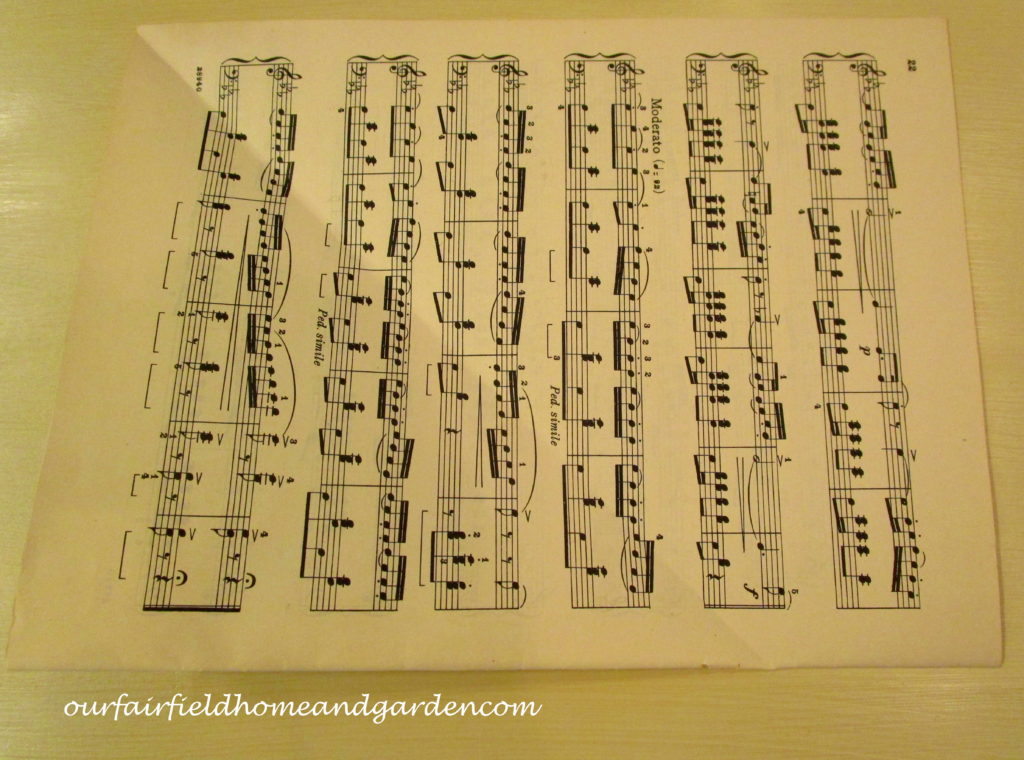
Step 2 ~ Taking the left corner of the paper, fold it up to the top edge of the sheet and crease firmly. (You will have two triangles – one on top and one underneath it)
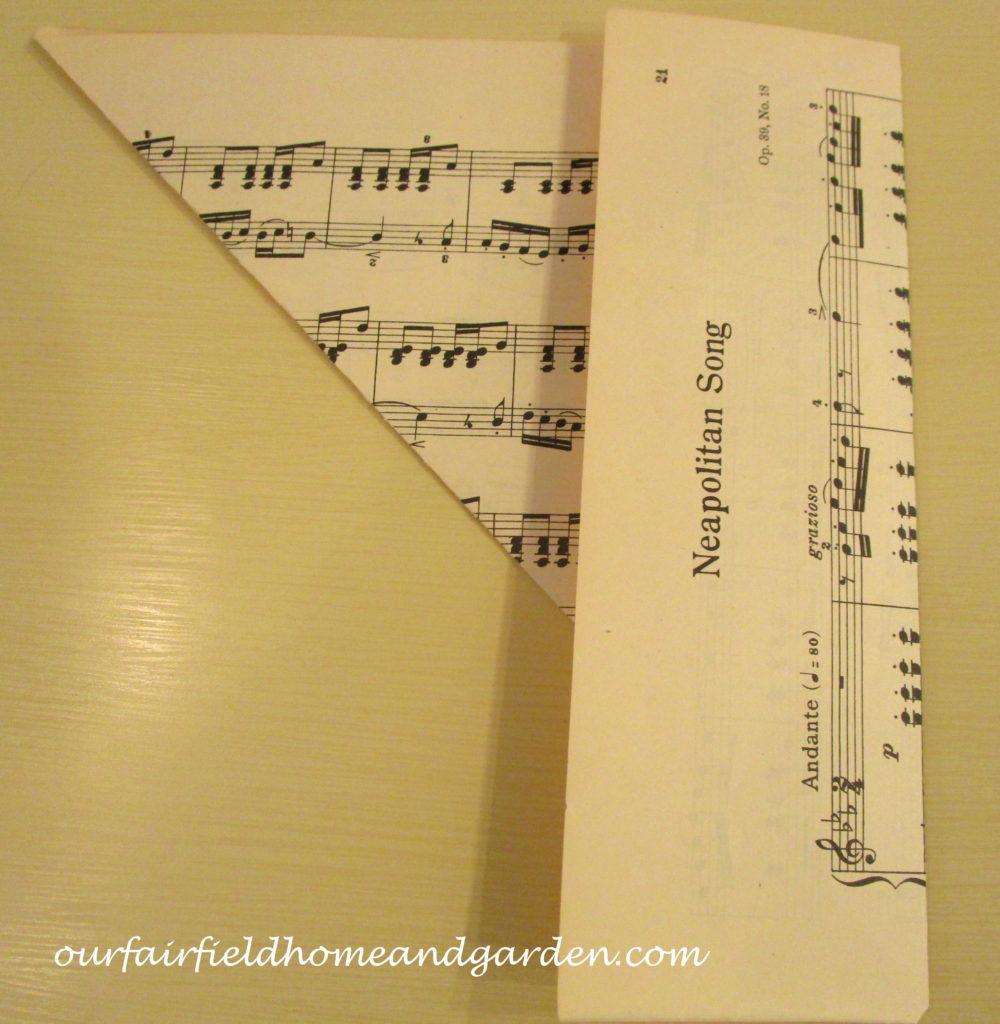
Step 3 ~ Fold the right side of the paper over to the right and crease it firmly. It should look like a rectangle.
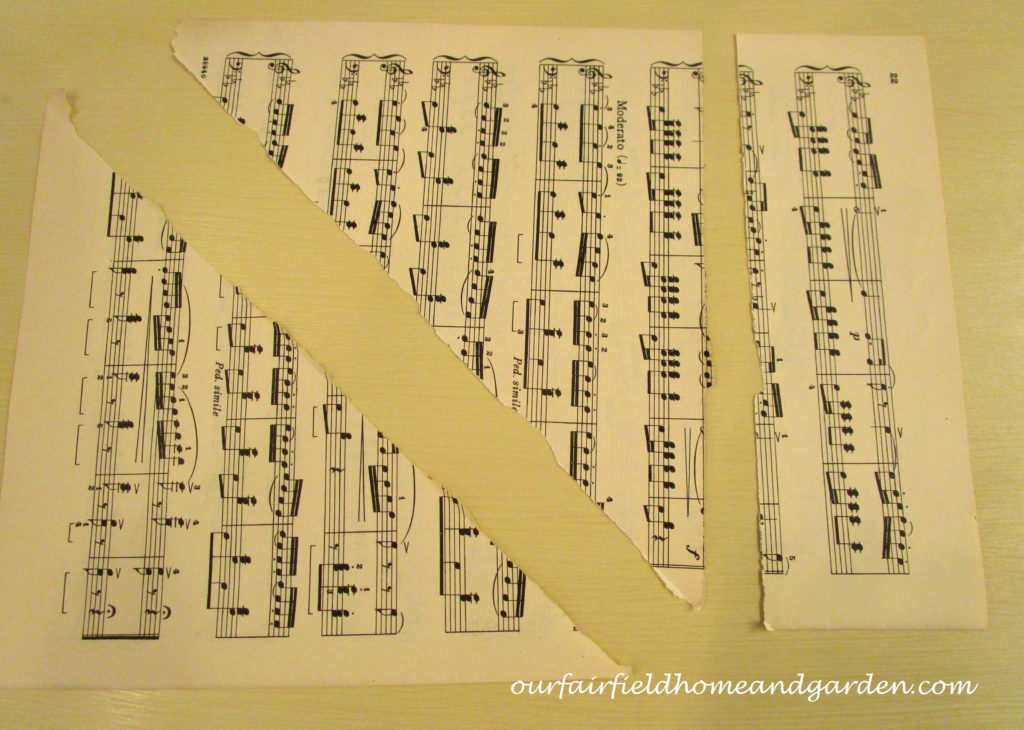
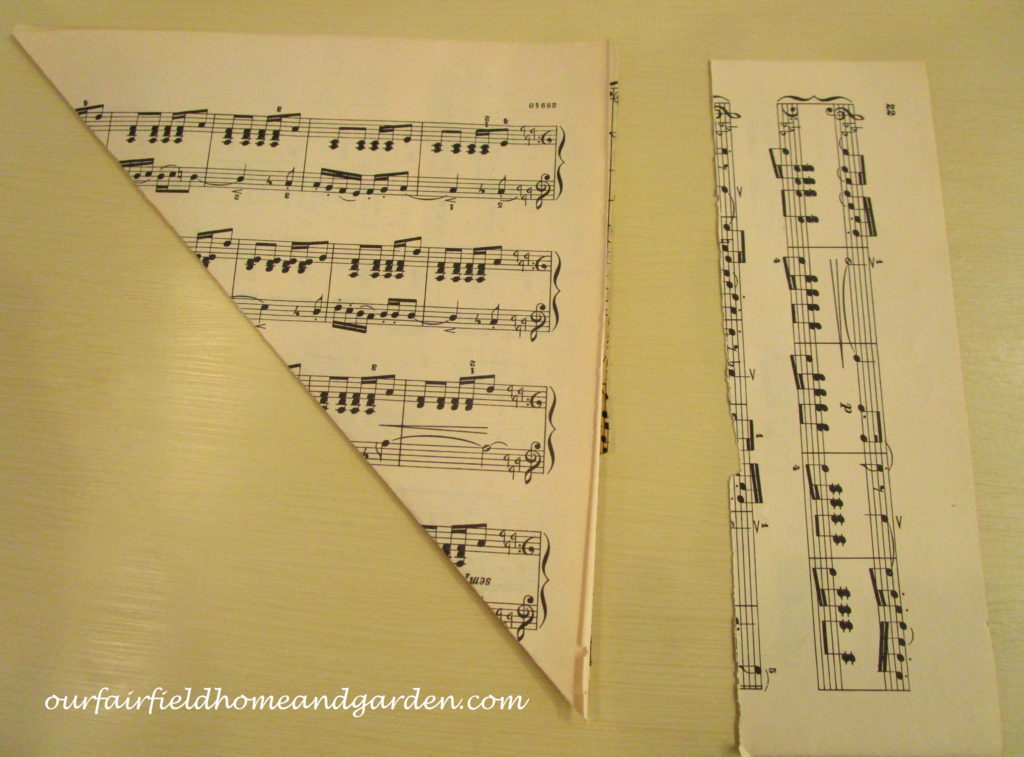
Step 5 ~ After tearing on each of your folded creases, your sheet music paper should look like this. Discard the rectangle piece or save it for another project.
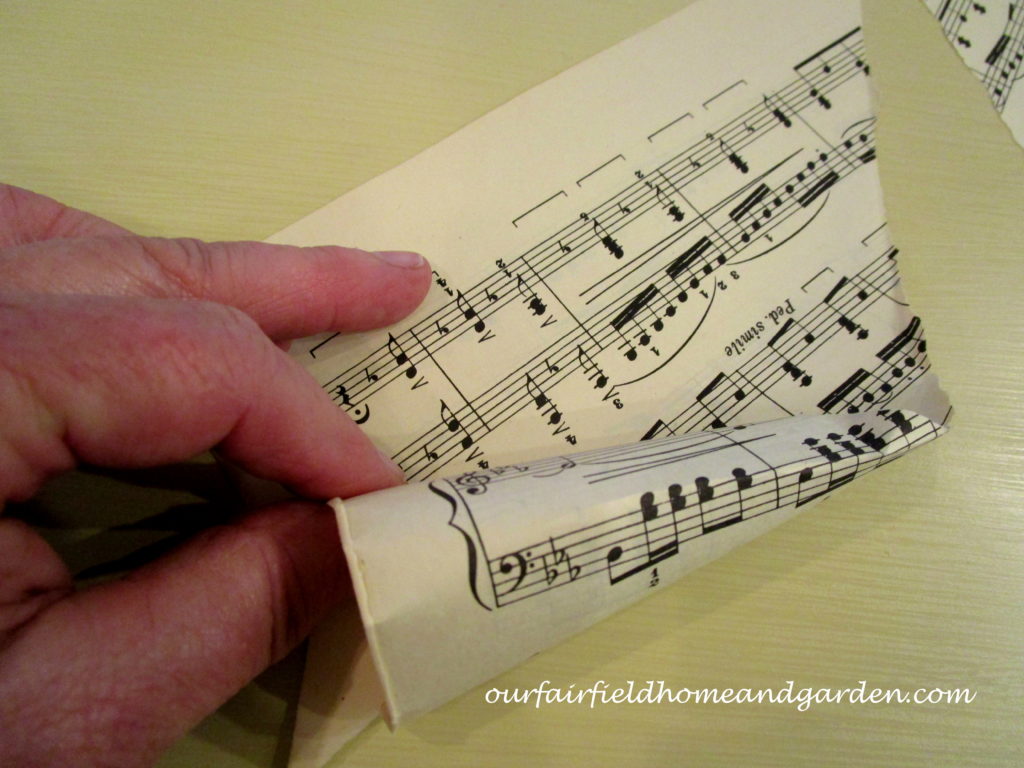
Step 6 ~ Taking the right point of the paper triangle, gently roll the paper into a cone. This may take a few tries. Remember, it’s only paper!!

Step 7 ~ After rolling the cone, use hot glue or tacky glue to adhere the edges so the cone doesn’t unroll.

Step 8 ~ For a more rustic look, hand rip the bottom of the tree. You could also use craft scissors to make a pretty edge.
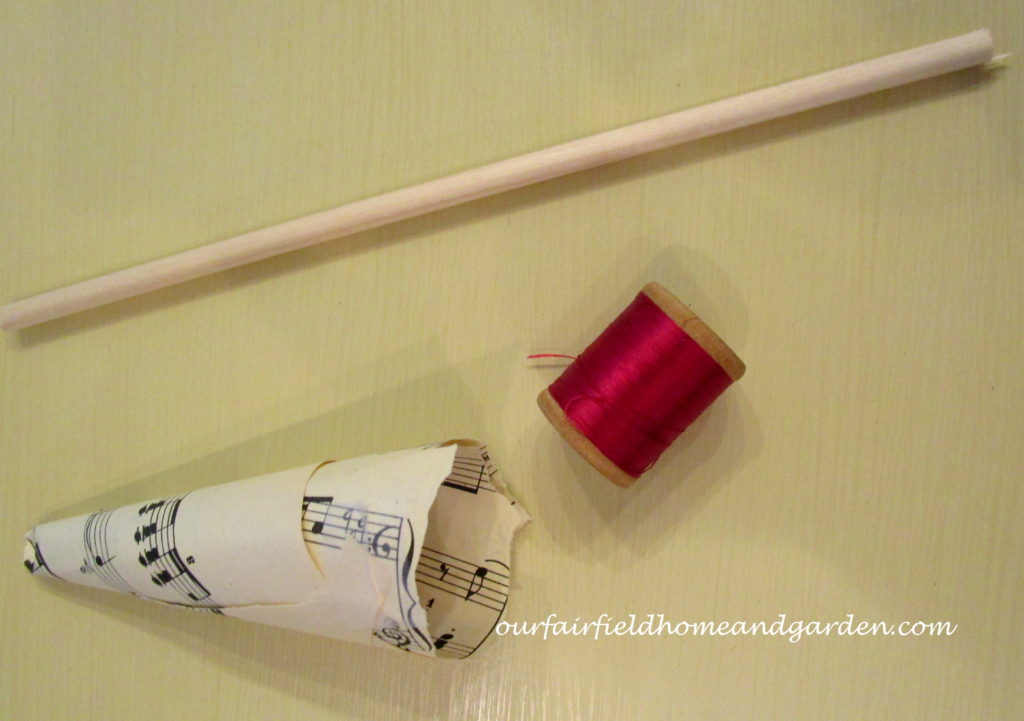
Step 9 ~ Cut a piece of dowel to the height desired. I hold it up to the spool with the tree on top the dowel and mark for my cut. Cut with a small handsaw or heavy duty pruner.
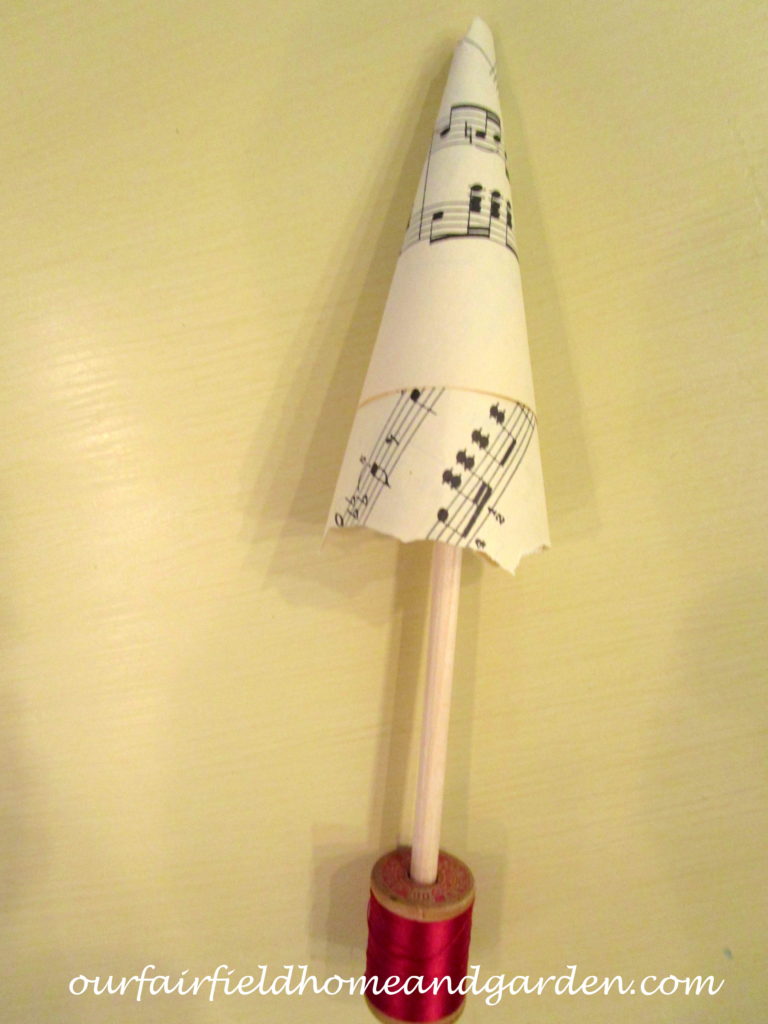
Step 10 ~ Using hot glue or tacky glue, glue the dowel into the spool and tree form. You can also glue the thread end down so it doesn’t unravel. Now decorate with buttons and tie a bow! How easy was that??


