
Filing Cabinet Planters

Old filing cabinets can be repurposed into planters!
Have you seen the price of large plant containers these days? You can easily spend a couple hundred dollars for a big planter. I wanted a couple to place along the back fence on our property but didn’t want to drop that kind of money ~ here’s my solution! Filing Cabinet Planters!
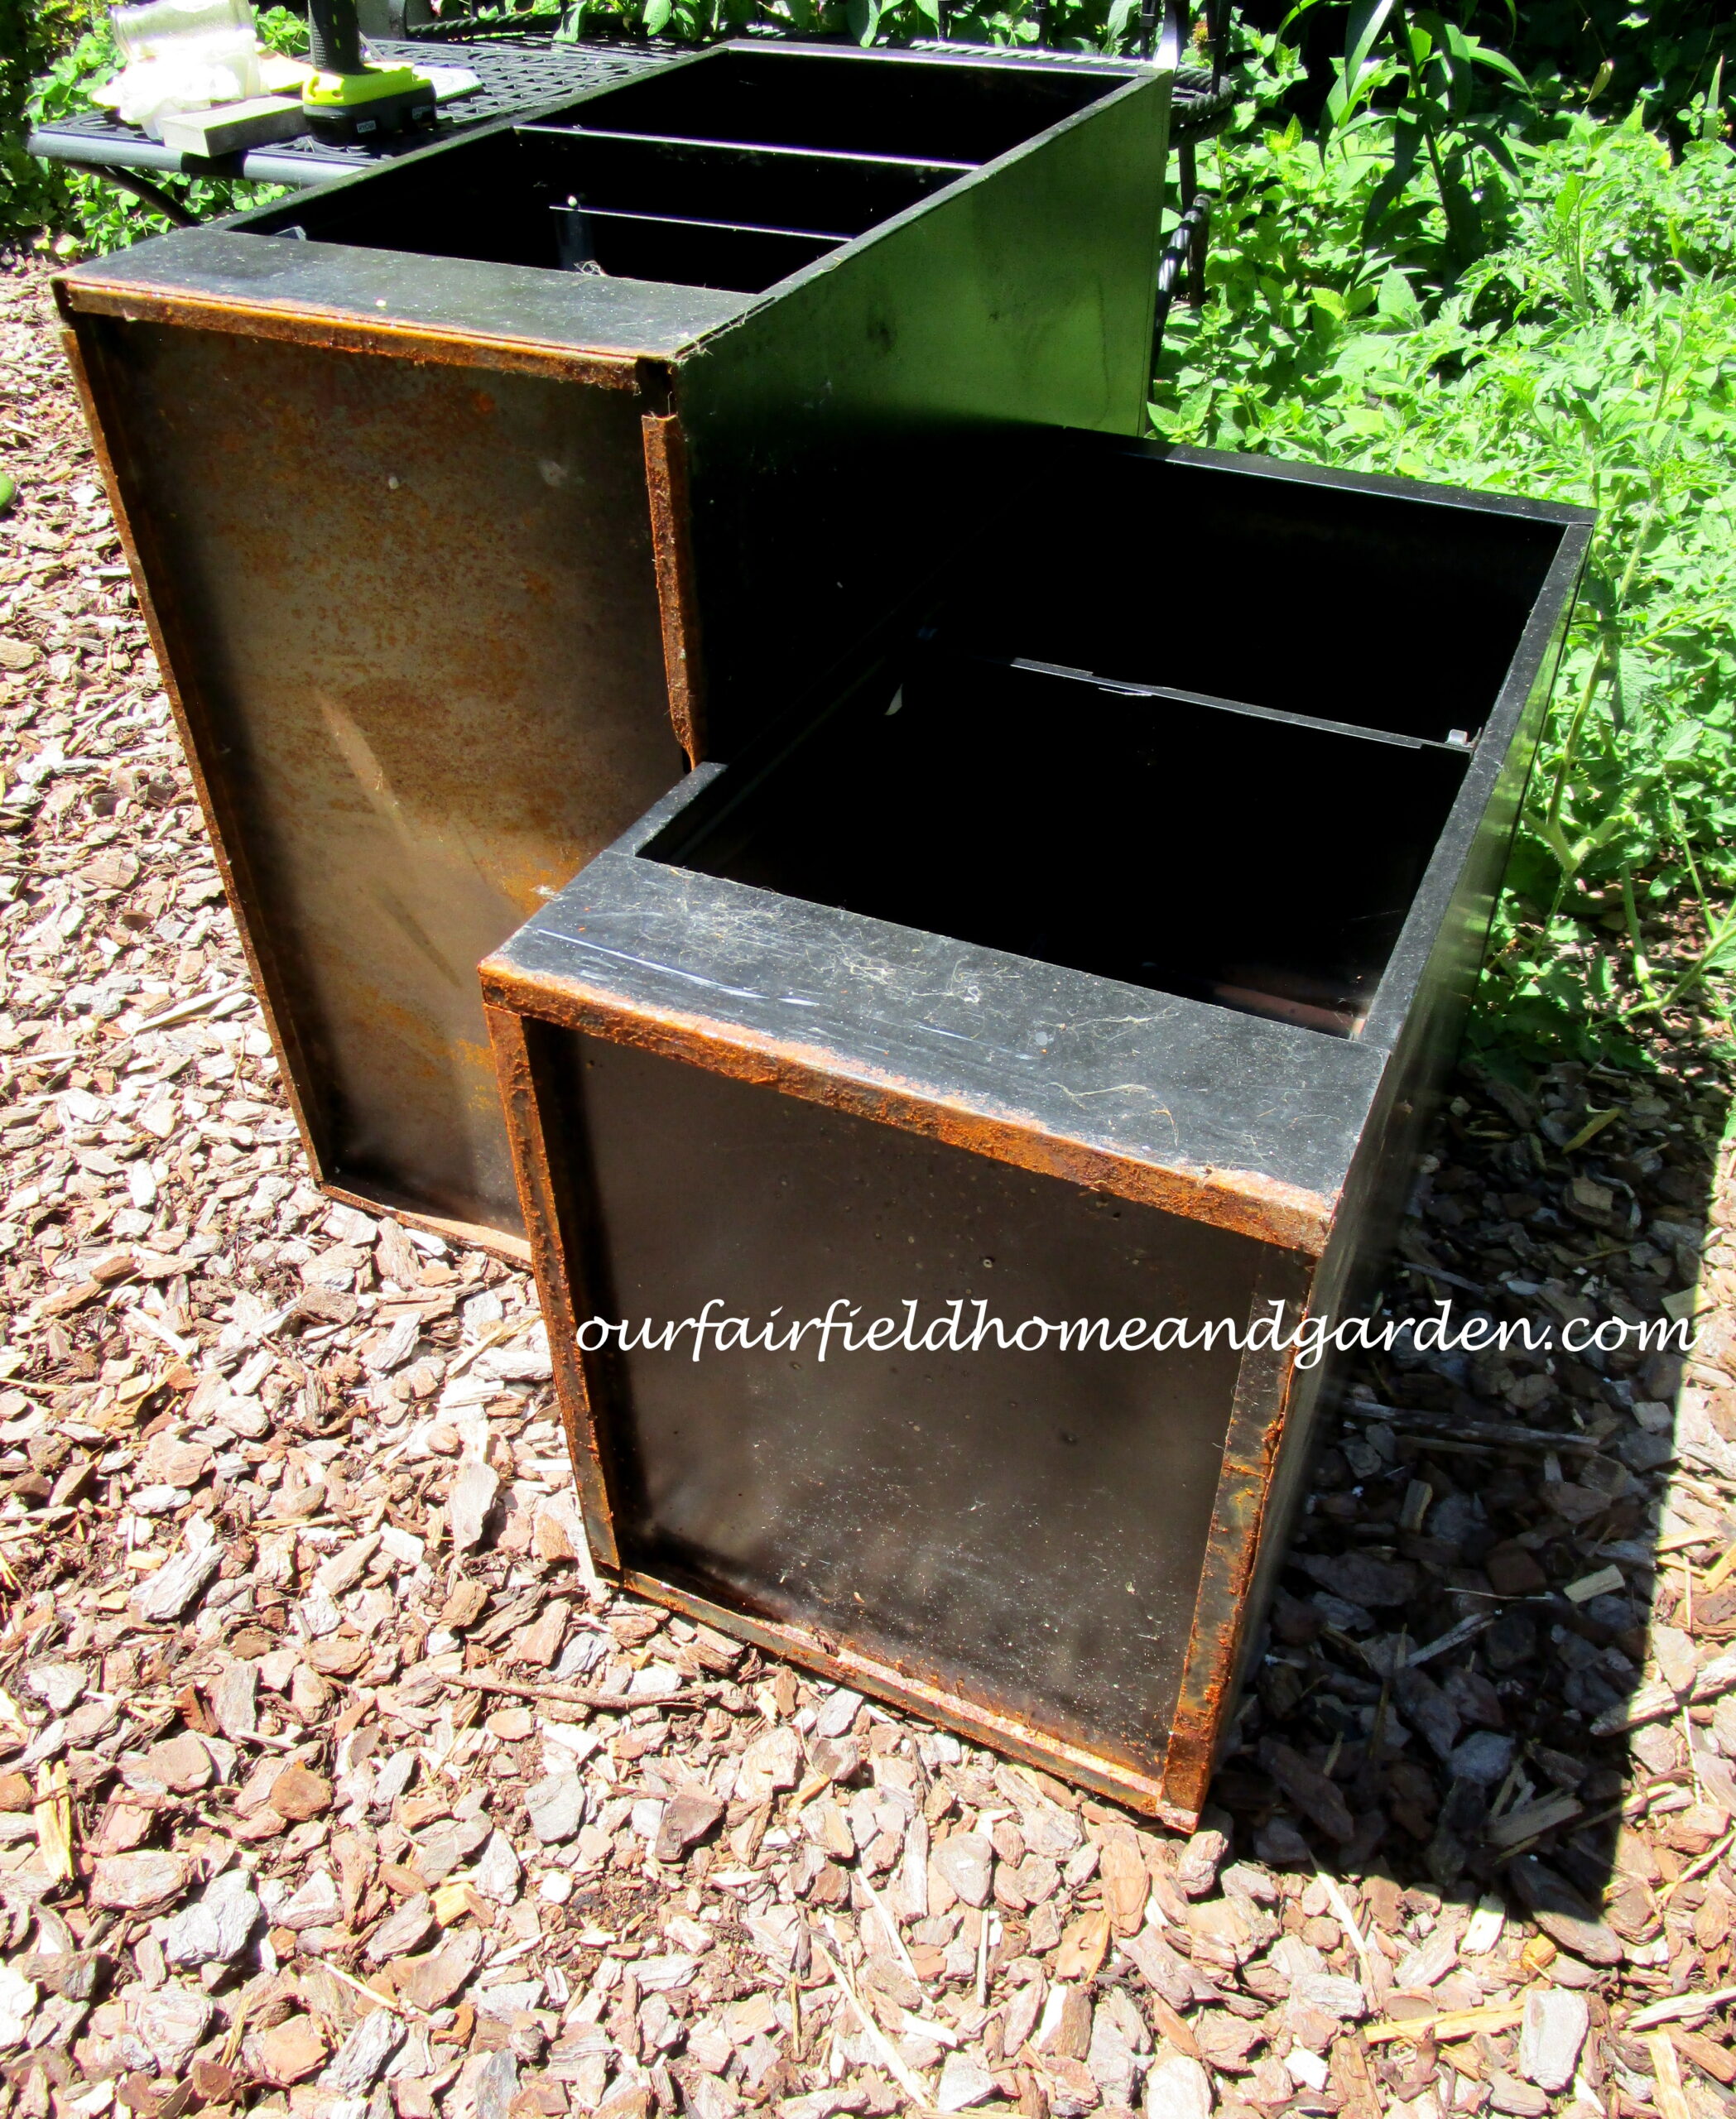
While cleaning the basement, I realized we had a couple old filing cabinets that we no longer needed. As I took the drawers out, I realized that they had a bottom as well as three sides. (note: If a cabinet doesn’t have a bottom wall, you would have to make one out of metal or wood). Turned onto their back walls they would make perfect planters!
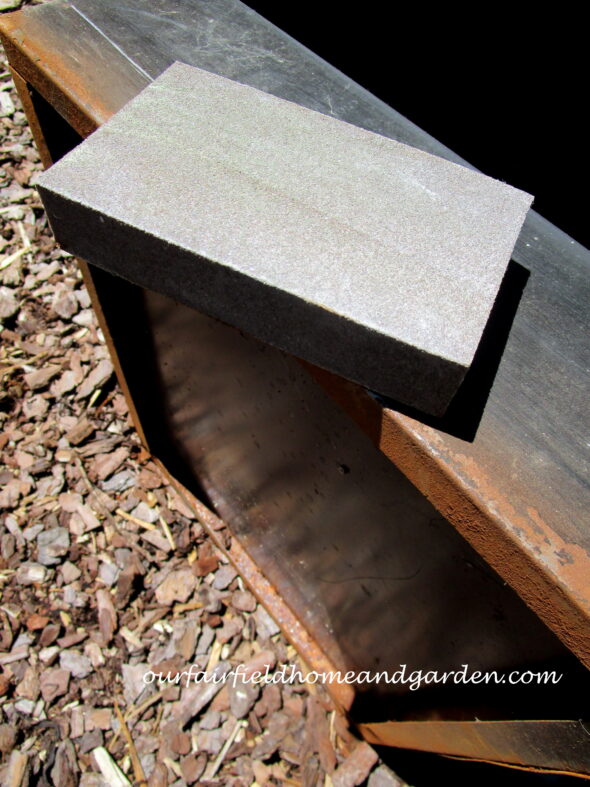
Sanding sponge used to prepare for painting.
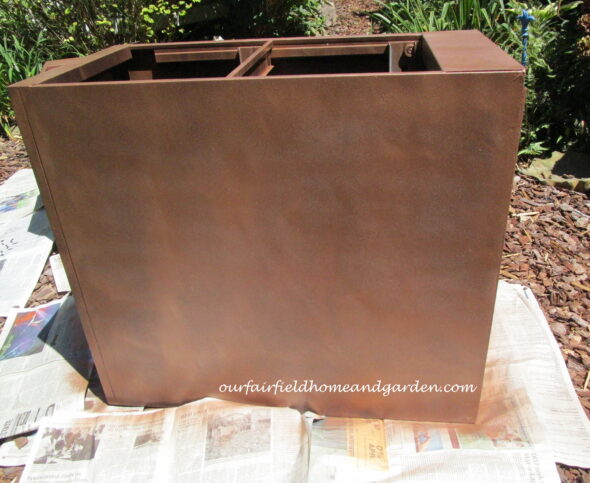
This project is best done in an open area outside where paint spray and fumes won’t cause harm. First, I laid the cabinets down and gave them a quick sanding with a sanding sponge to remove any rust. After sanding, I wiped the cabinets down to remove any dust.
Filing cabinets ready to be spray painted.
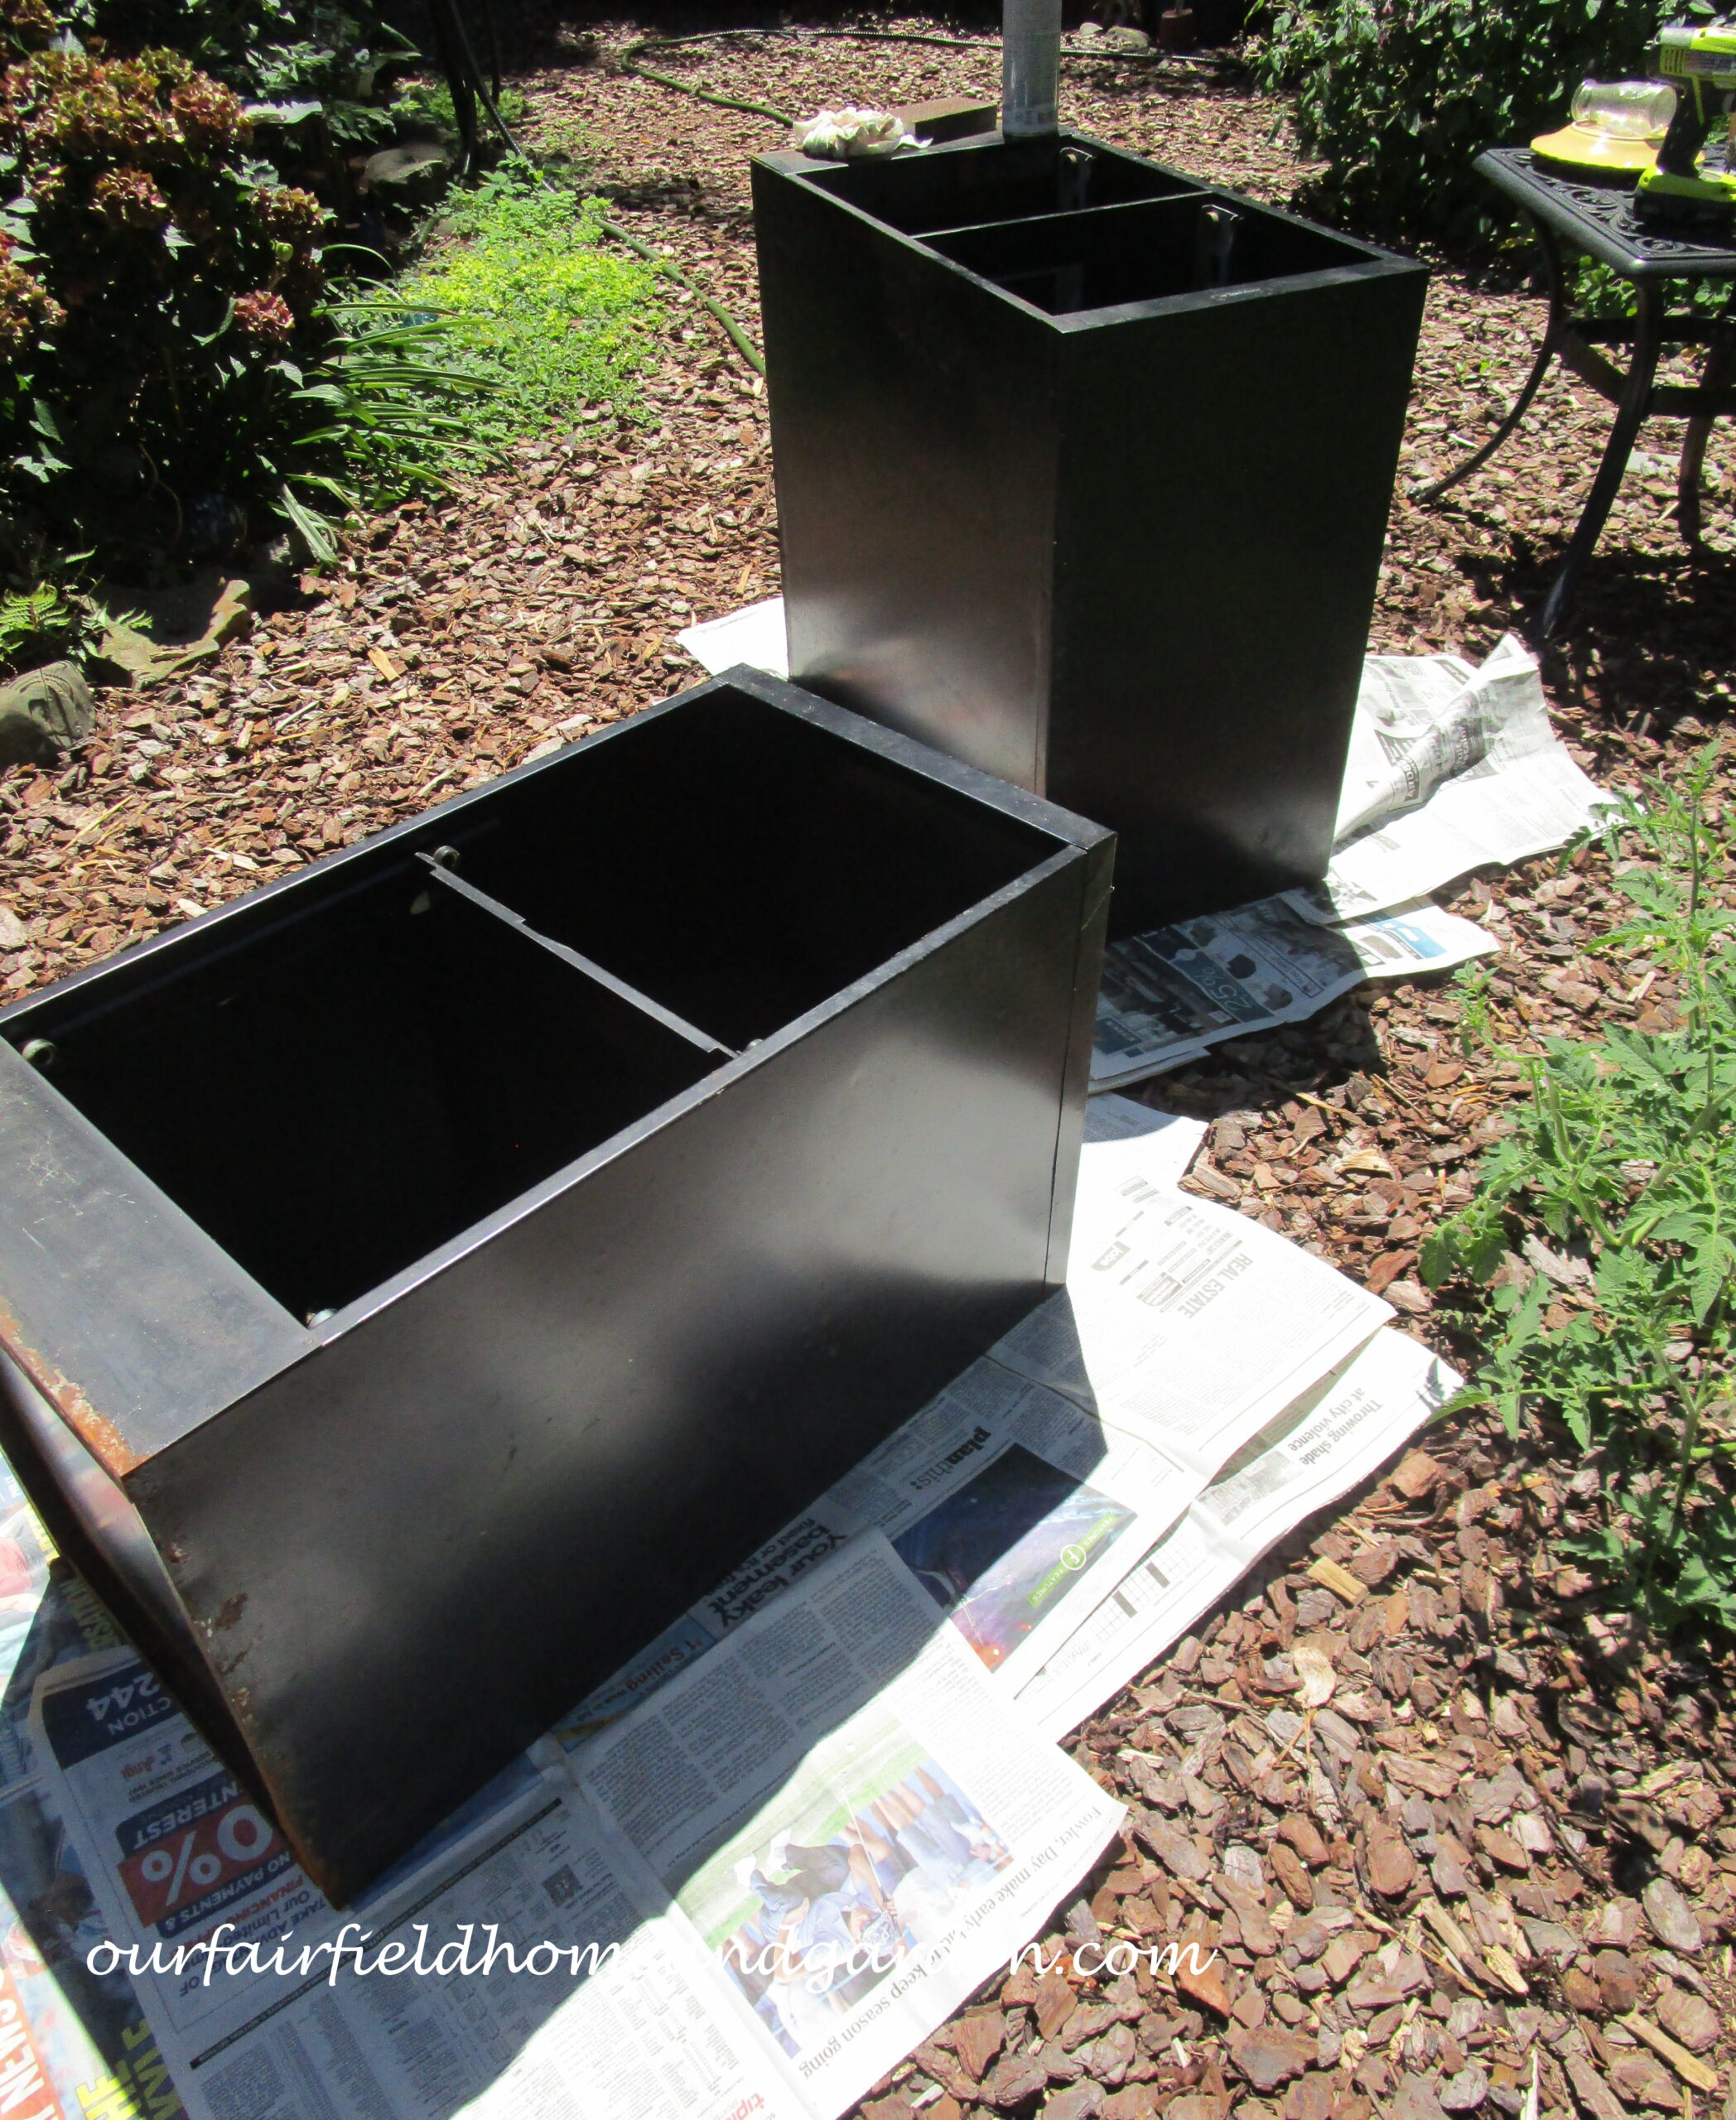
Next, I slipped newspaper under all the outer edges leaving enough to catch any over spray. For this project I used Krylon Hammered Copper spray paint but you could use any color you prefer. Just make sure to buy spray paint that is labelled for painting metal. Drill drainage holes in the bottom of each container.
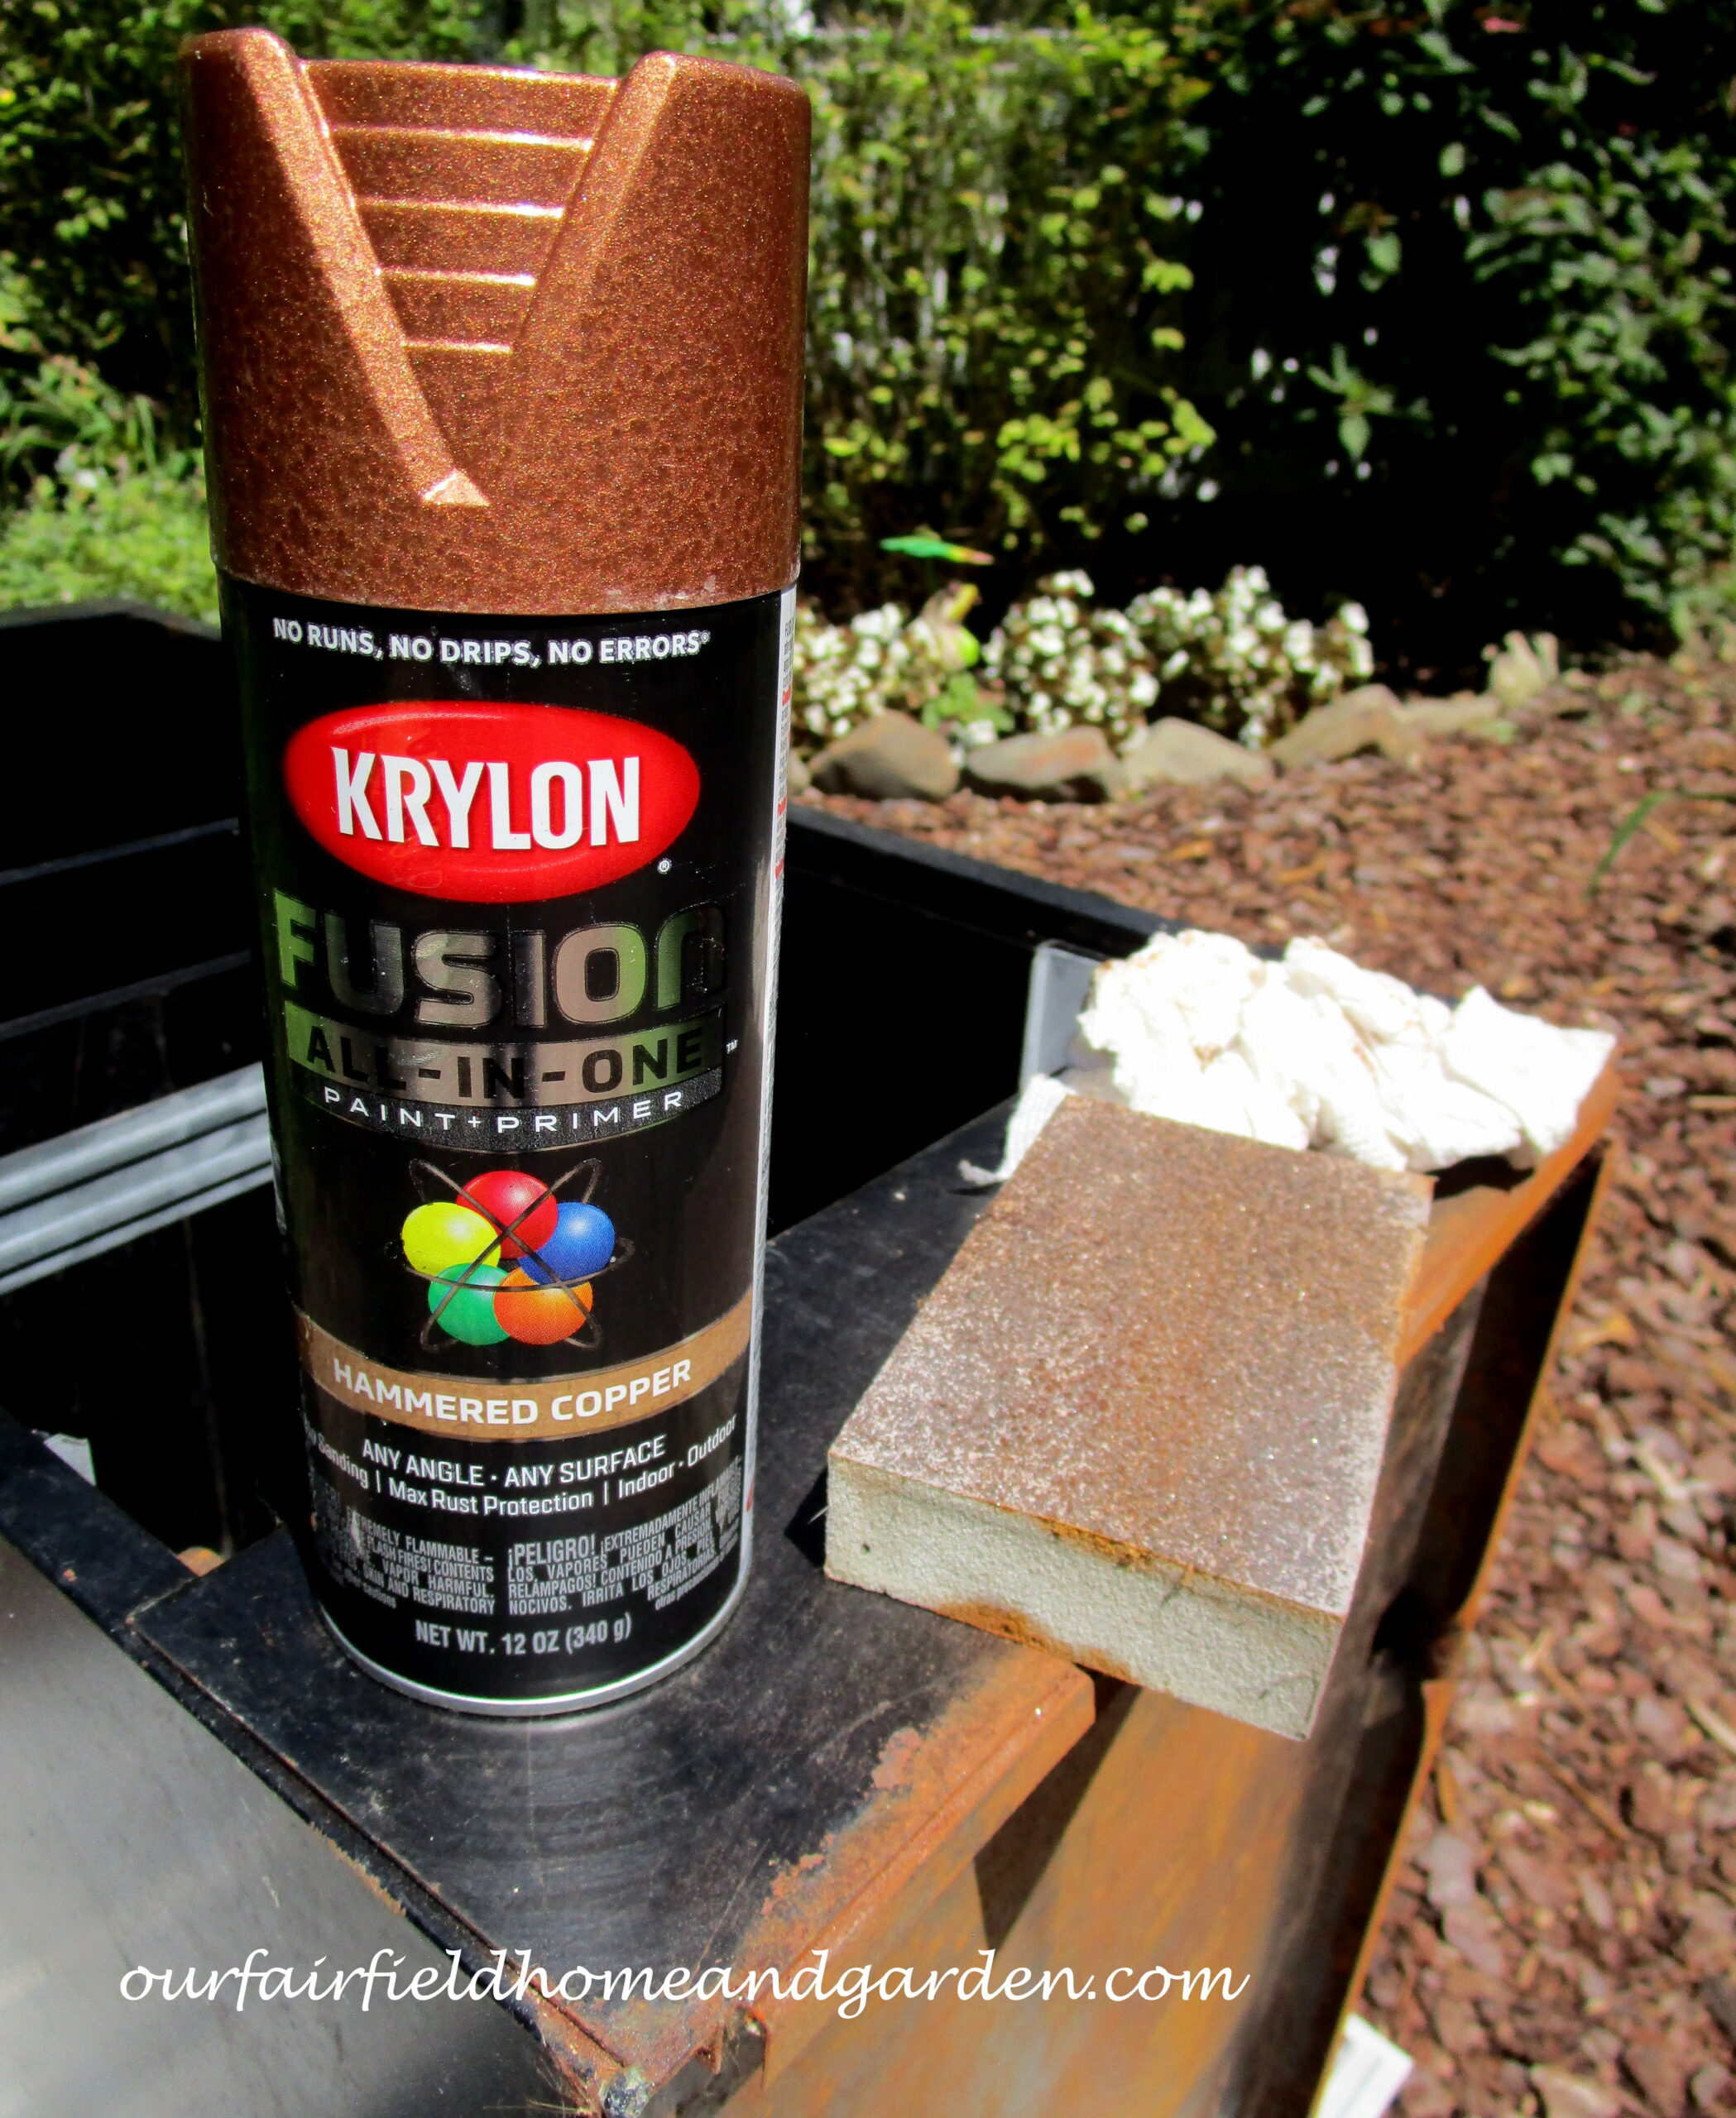
Krylon spray paint was used for this project.
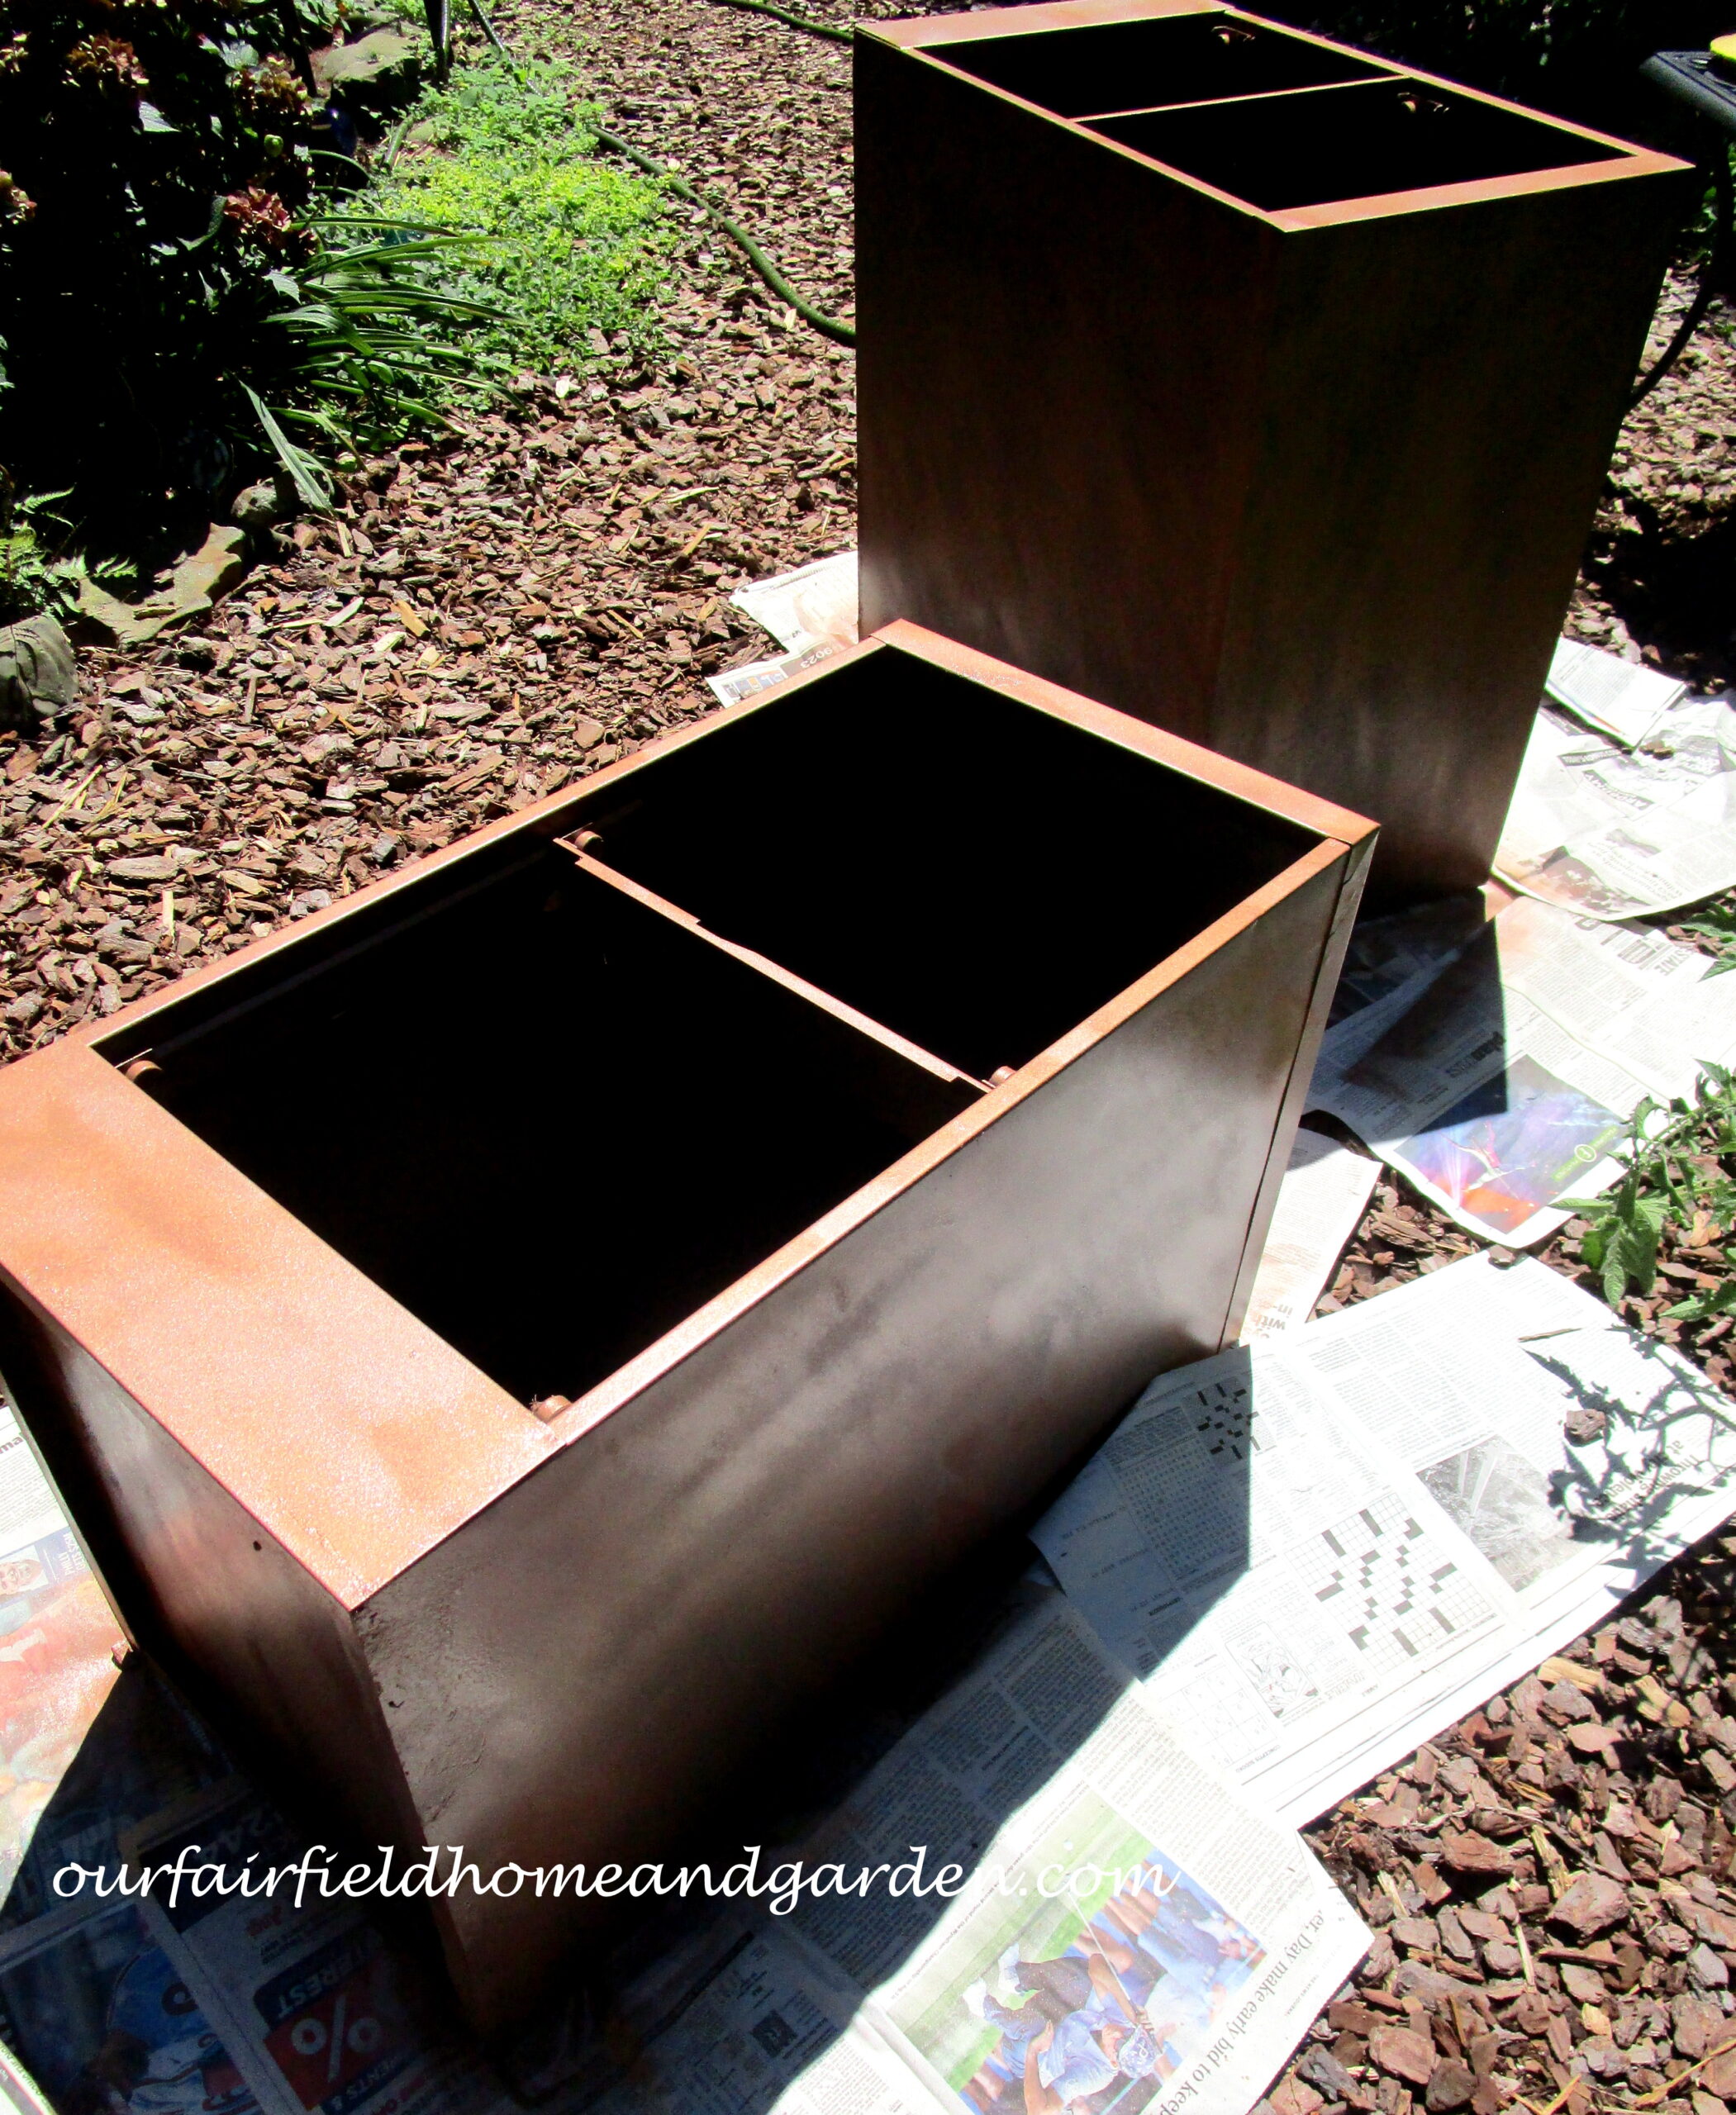
Be sure to shake the can very well before spraying. Then, in long strokes, spray the paint onto the cabinets. It may take a couple applications. Don’t hold the spray can aimed at one spot or you will end up with drips. If that happens, quickly wipe the drip with a rag or paper towel, then respray. Don’t forget to spray the inside top that might show when the planter has soil and plants in it.
Filing Cabinet after spray painting the first coat.
I used two cans of spray paint and had enough to also spray a metal wall hanging to add to this grouping. The paint takes about an hour to dry completely. You can line the bottom of each planter with the newspaper.
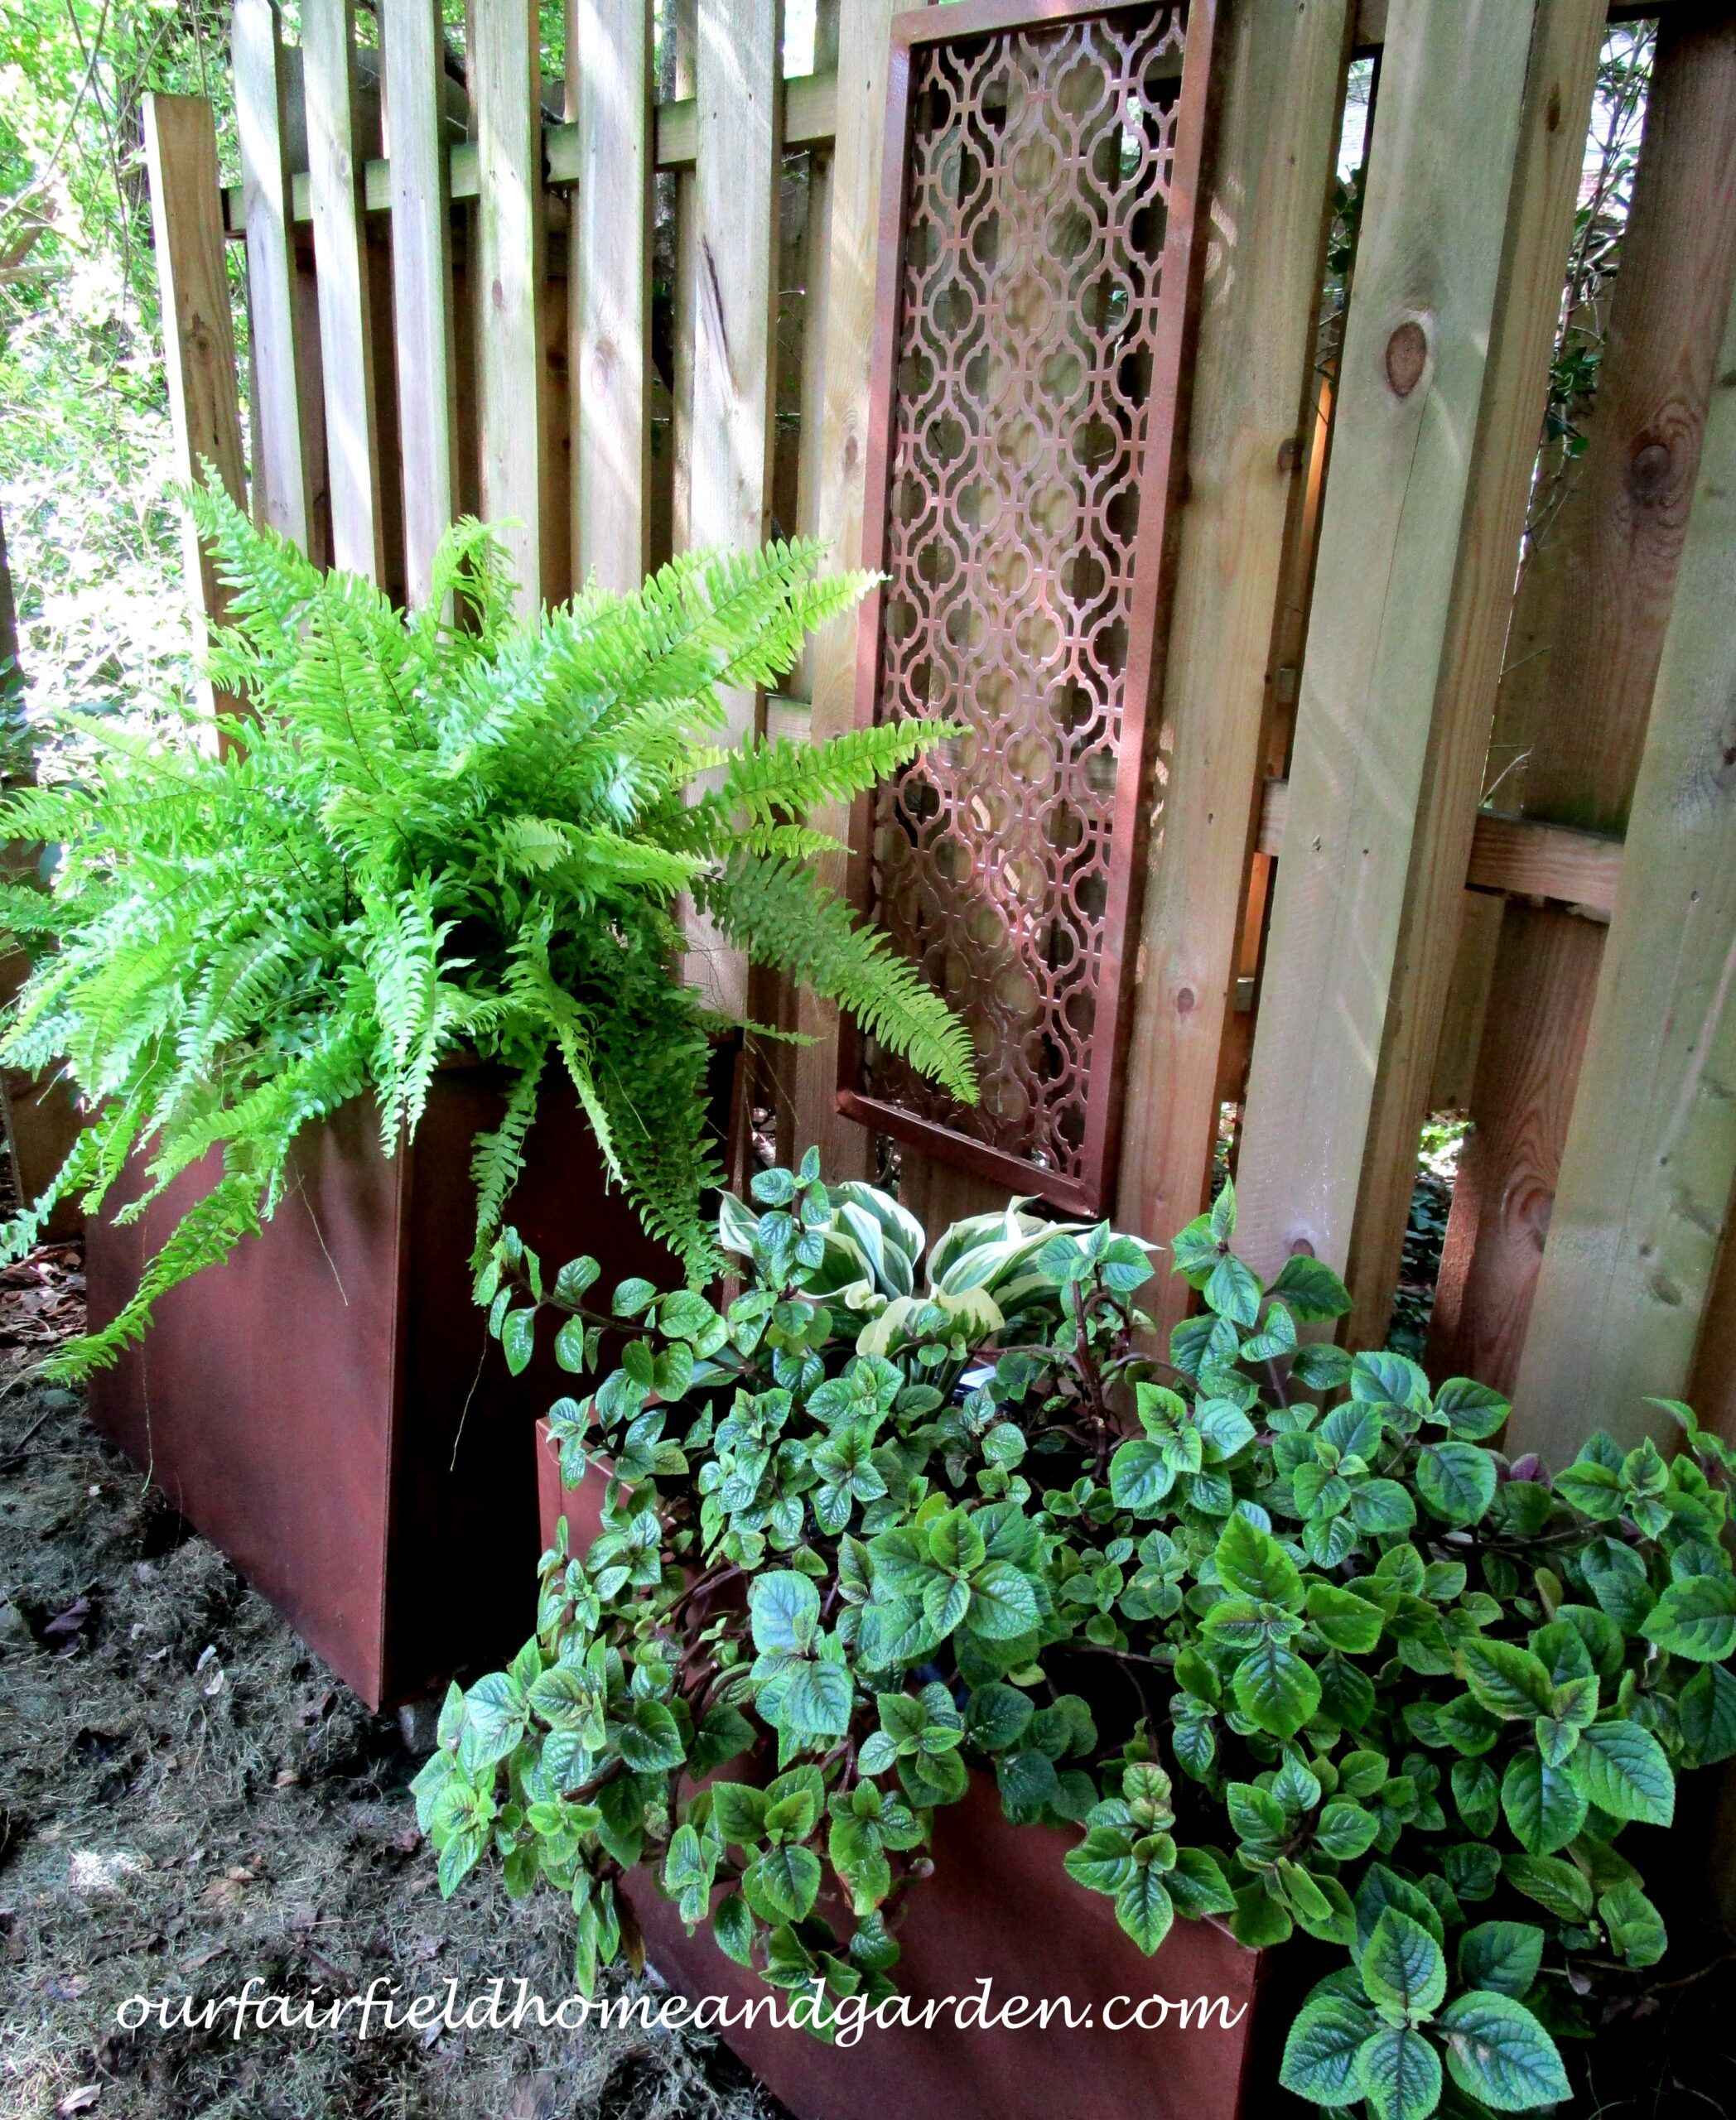
Determine where you will site your new planters. If you are like me, you have to see them in place. I moved them into three locations before I found the perfect spot! Hold off filling the new planters with soil until you have settled on a permanent location as they will become very heavy.
Now for the fun part! Since it is near summer’s end, I decided to place houseplants in my new Filing Cabinet Planters for the time being. Next spring, I’ll choose pretty shade-loving annuals, houseplants and vines for the growing season. Remember to choose plants for the sun available in your chosen spot.
So, what do you think of my new planters that didn’t cost much but make a big statement in the garden? I think these Filing Cabinet Planters can be adapted to fit just about any garden design.
Filing Cabinet Planters after spray painting.
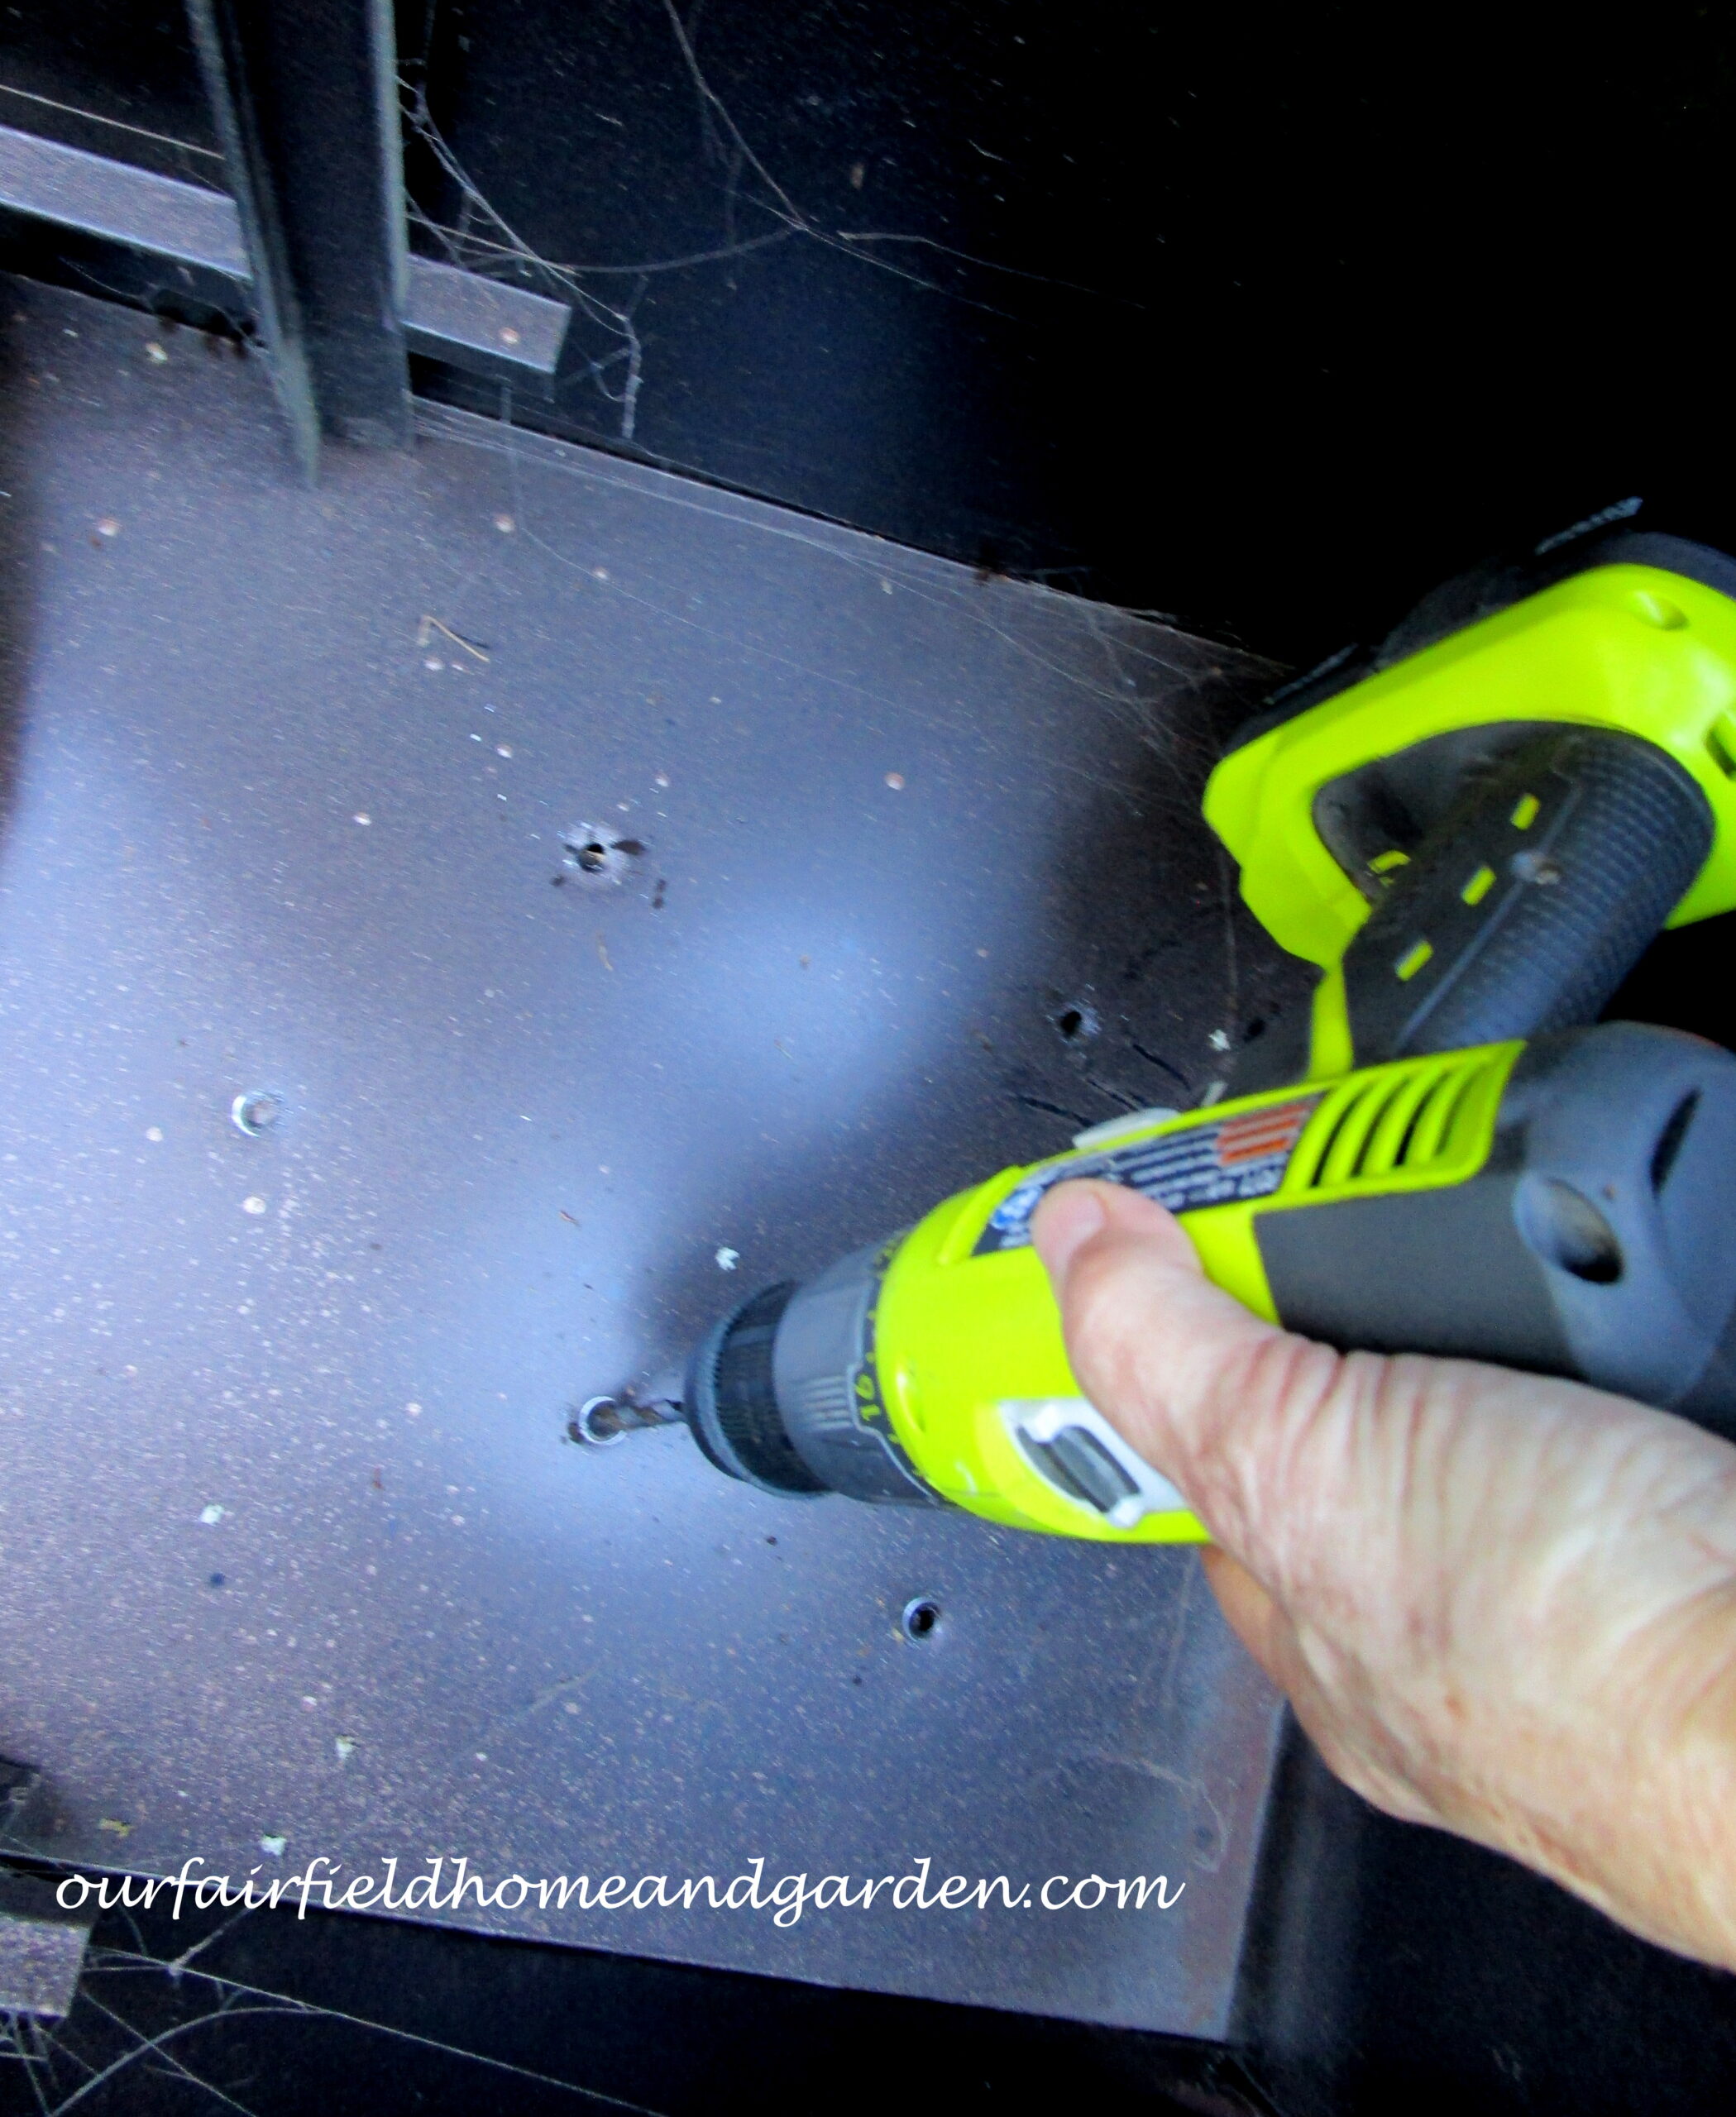
Drilling drainage holes in the fild cabinet.
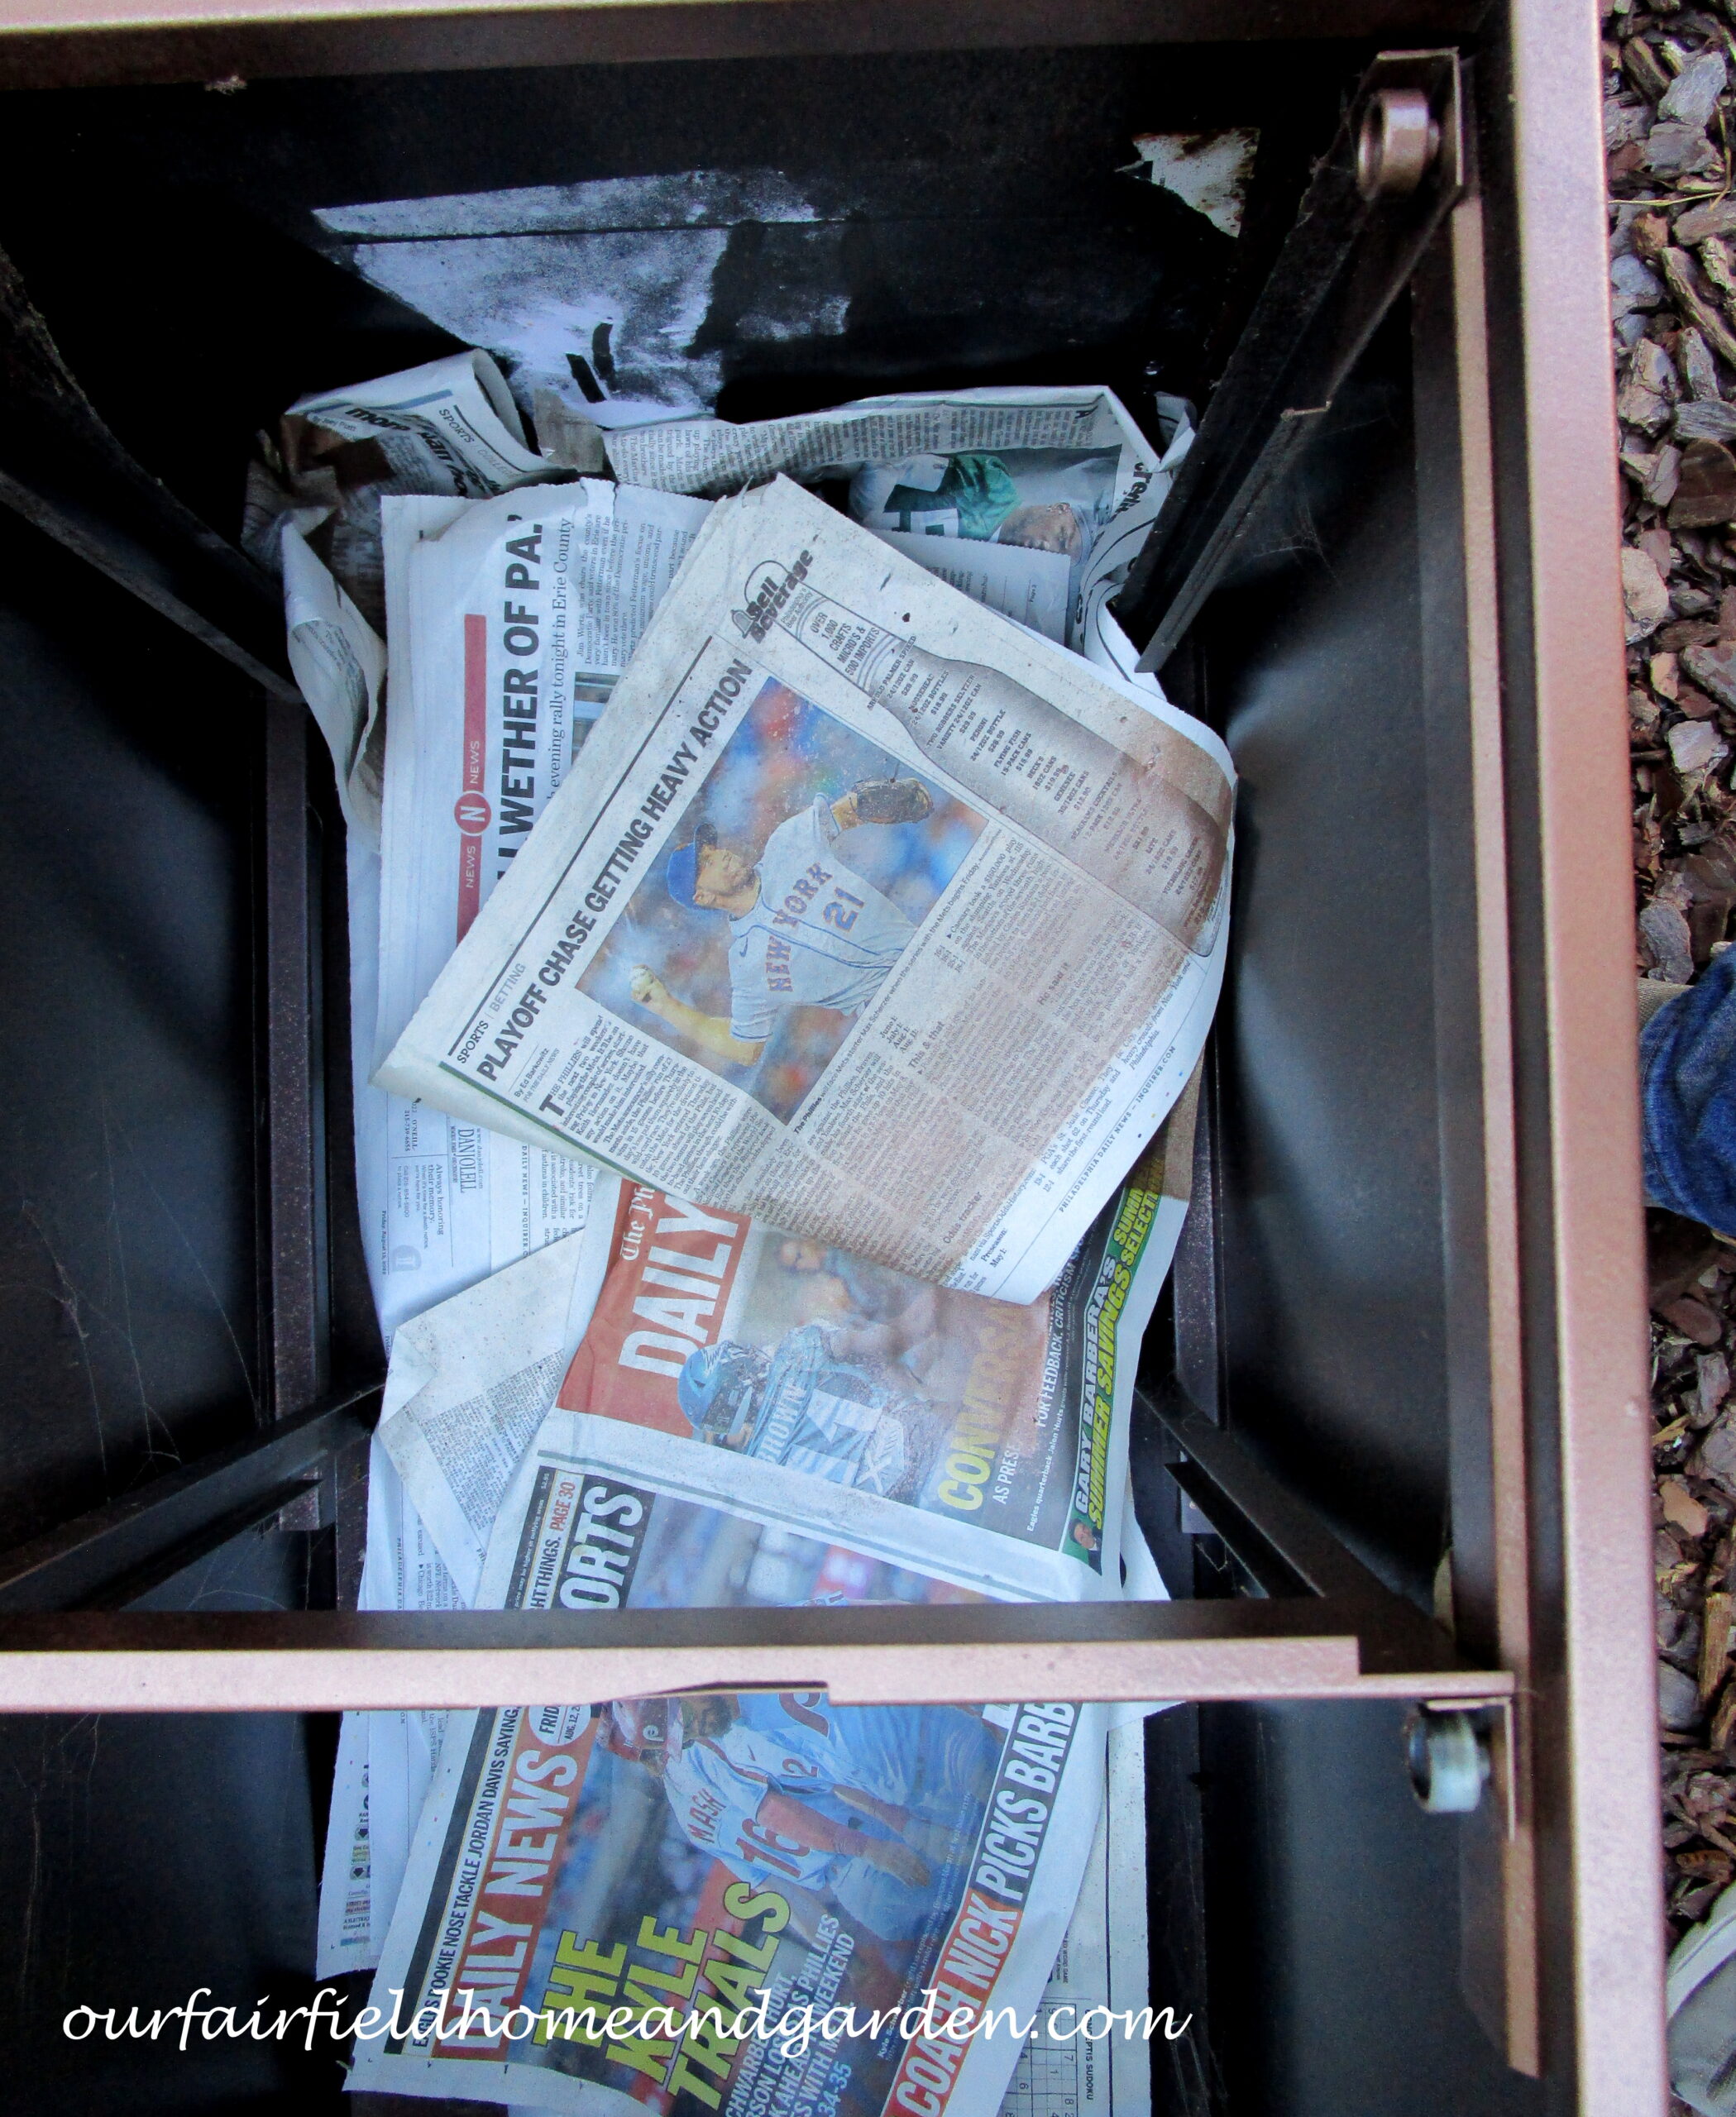
Newspaper lining the bottom of the file cabinet
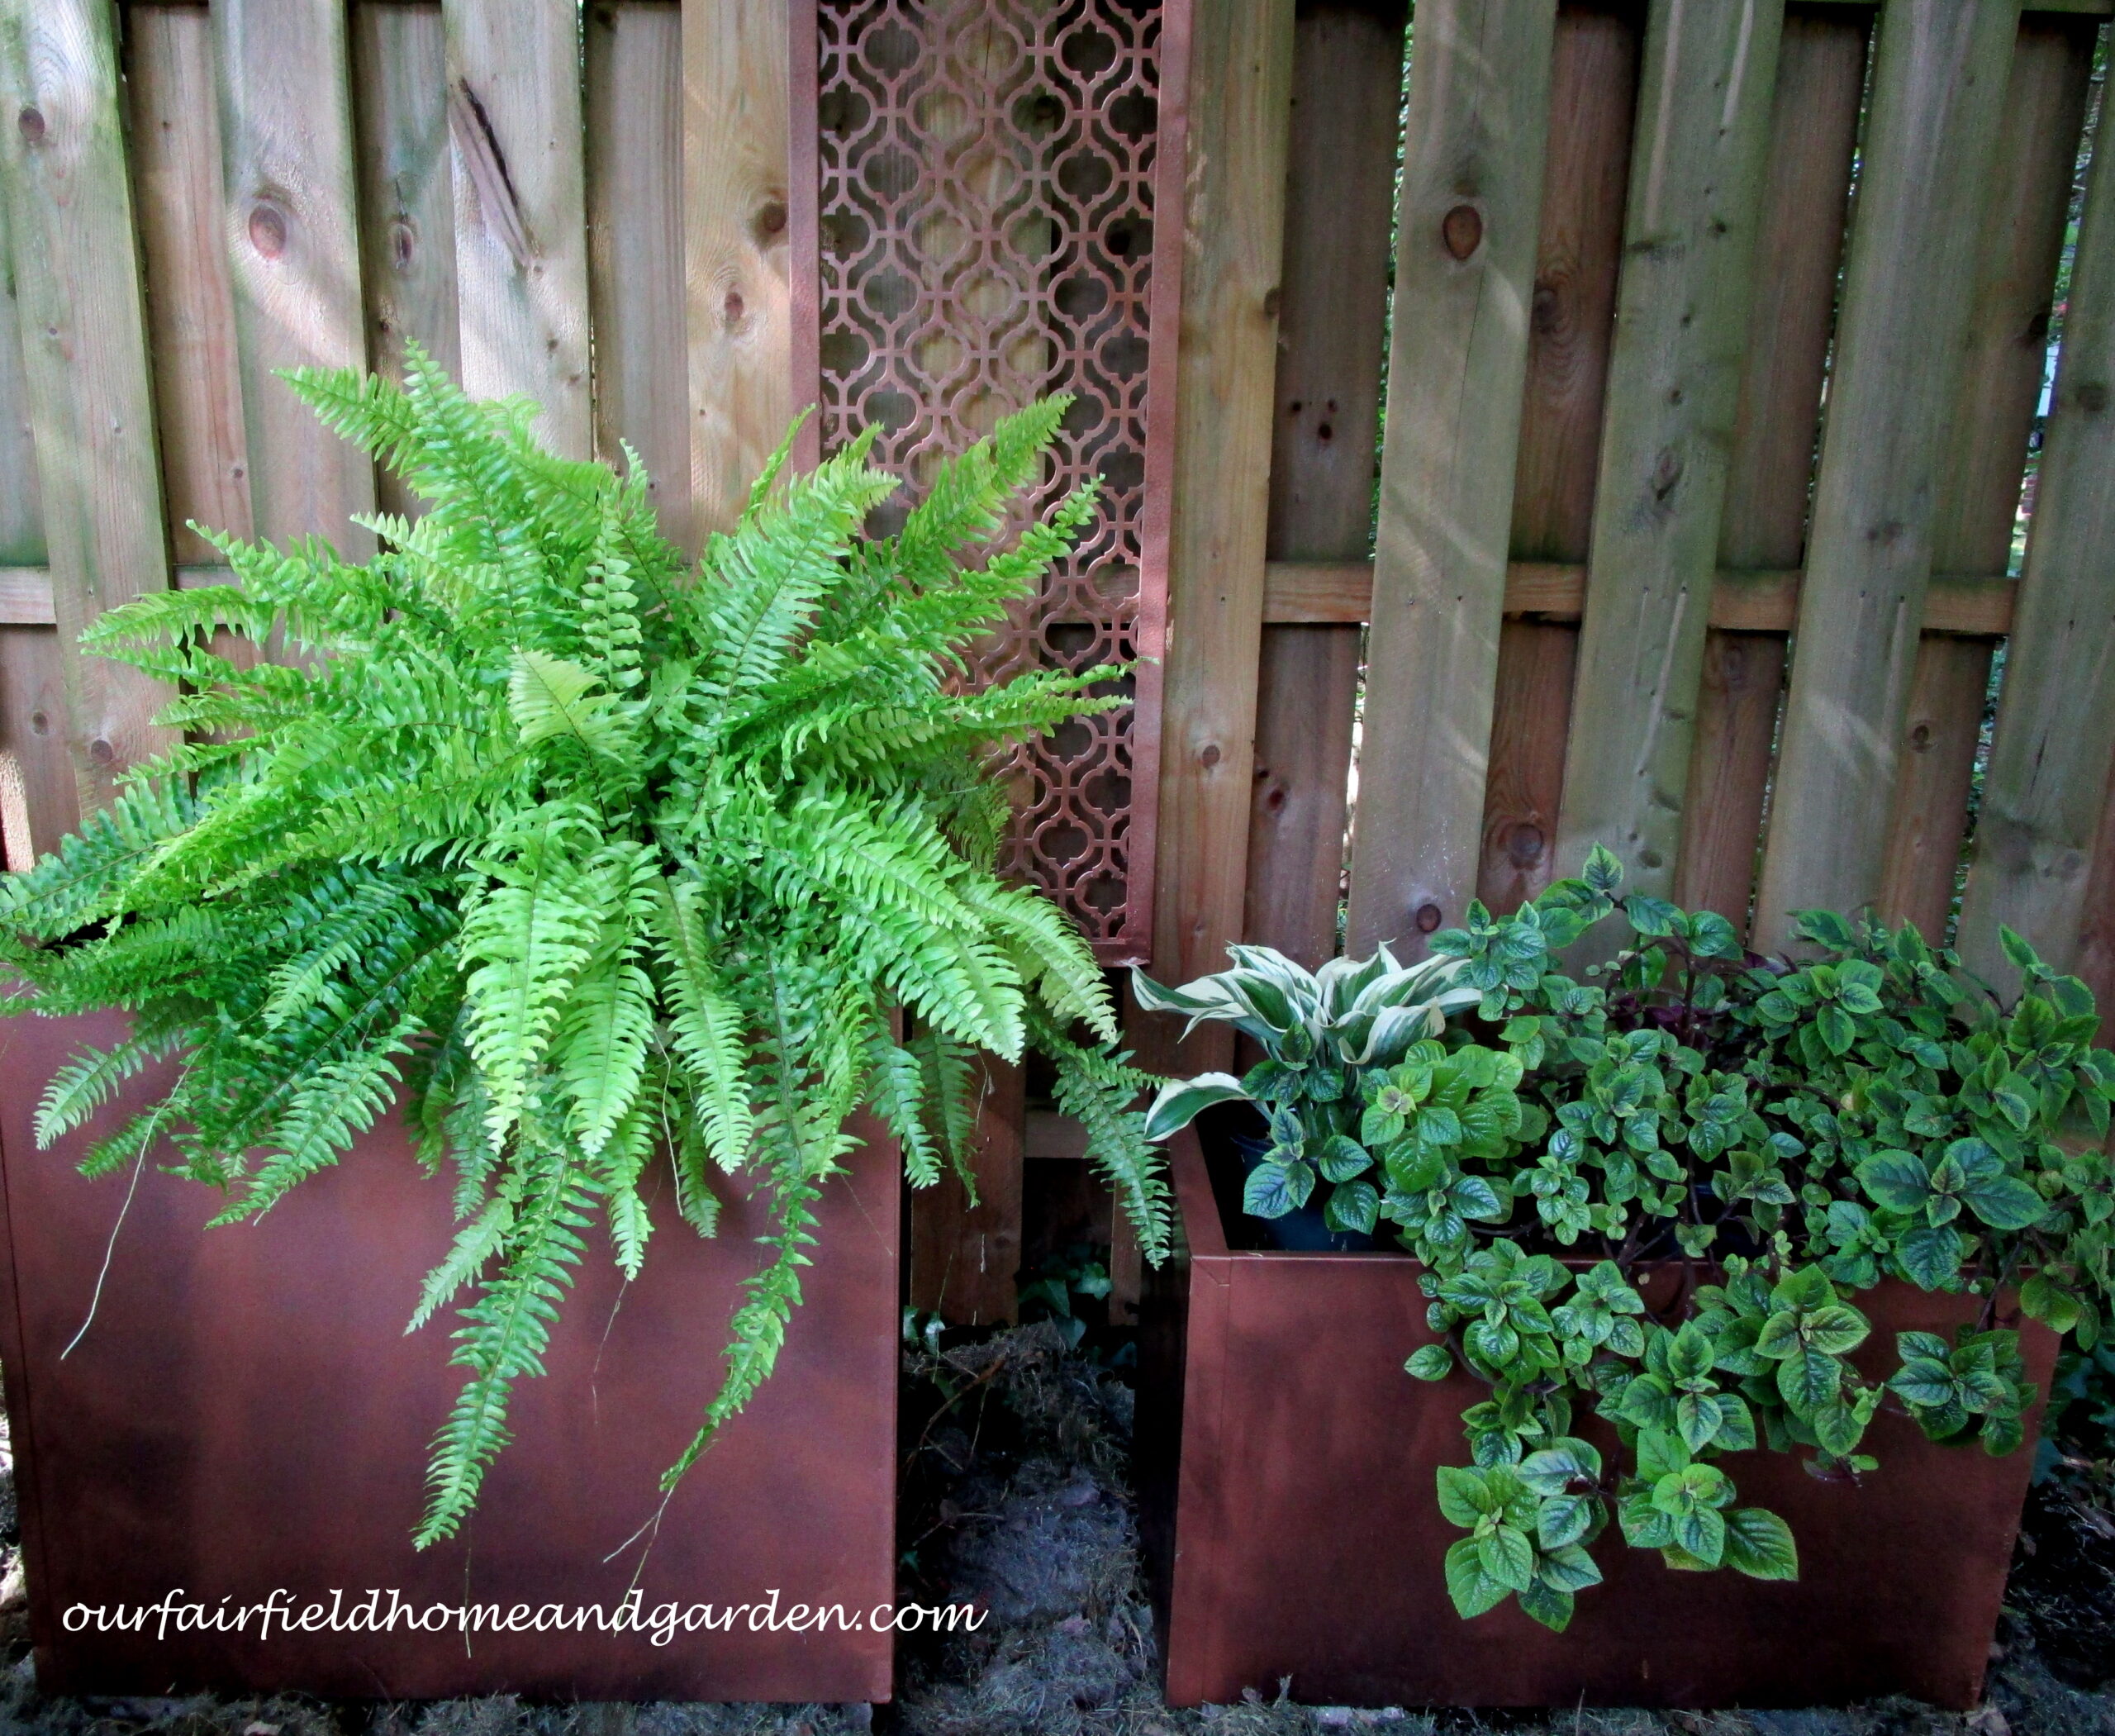
Finished! Two very large container planters for very littlemoney!
Filing Cabinet Planters ~ an easy repurpose from Our Fairfield Home and Garden


Looks great Barb!
Thanks! This was a fun repurpose and kept the cabinets out of the landfill!