
DIY ~ Mailbox Birdhouse

Mailbox Birdhouse
When I found an old mailbox for a dollar at a garage sale, I decided to see what I could make from it. With just wood scraps, the mailbox and some paint I created a Mailbox Birdhouse.
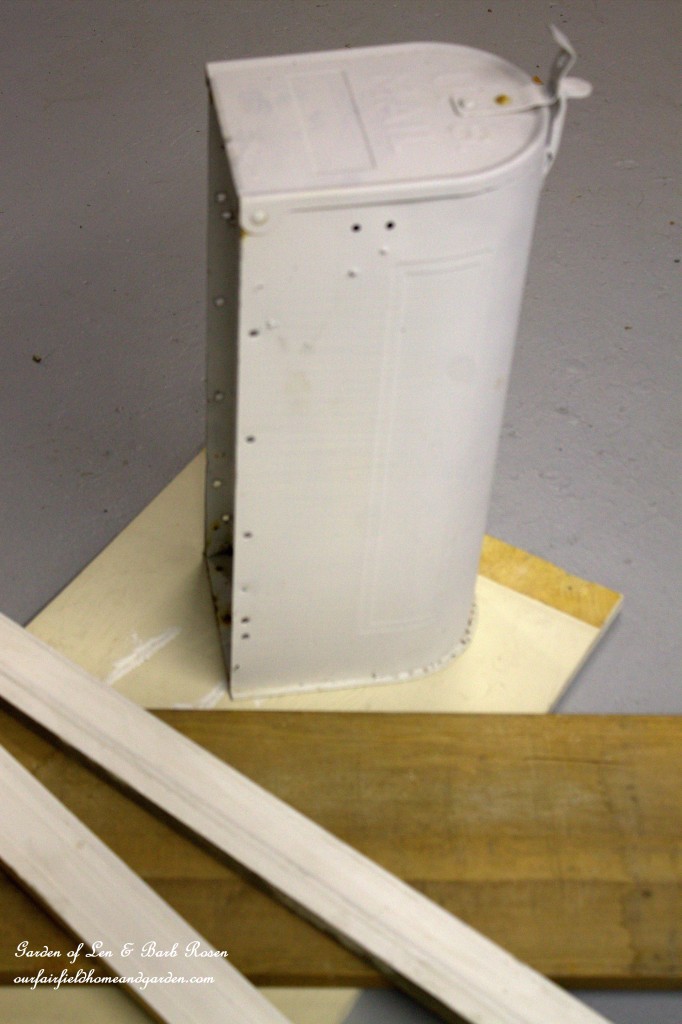
Mailbox Birdhouse ~ materials were a mailbox, a piece of wood, one can of spray paint and some acrylic craft paint
For this project, basic woodworking tools will prove handy. We used a circular saw, a jigsaw and a drill. Circular saws are great for cutting straight lines. A jigsaw can cut on curved lines and the drill makes holes of different sizes depending on the bit sizes used.
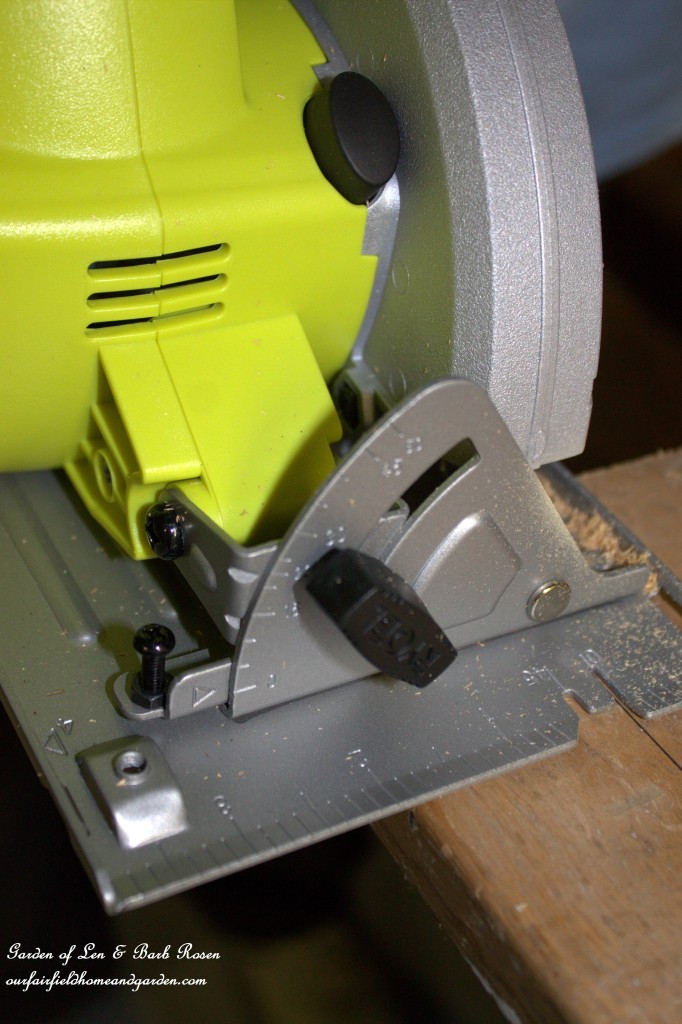
Mailbox Birdhouse ~ make straight cuts with a circular saw
Use a piece of cardboard to trace around the end of the mailbox. Create a template by trimming it to fit the opening. Now you have a pattern for cutting the wood. Be sure to use safety precautions and wear safety goggles and a mask, especially if indoors.
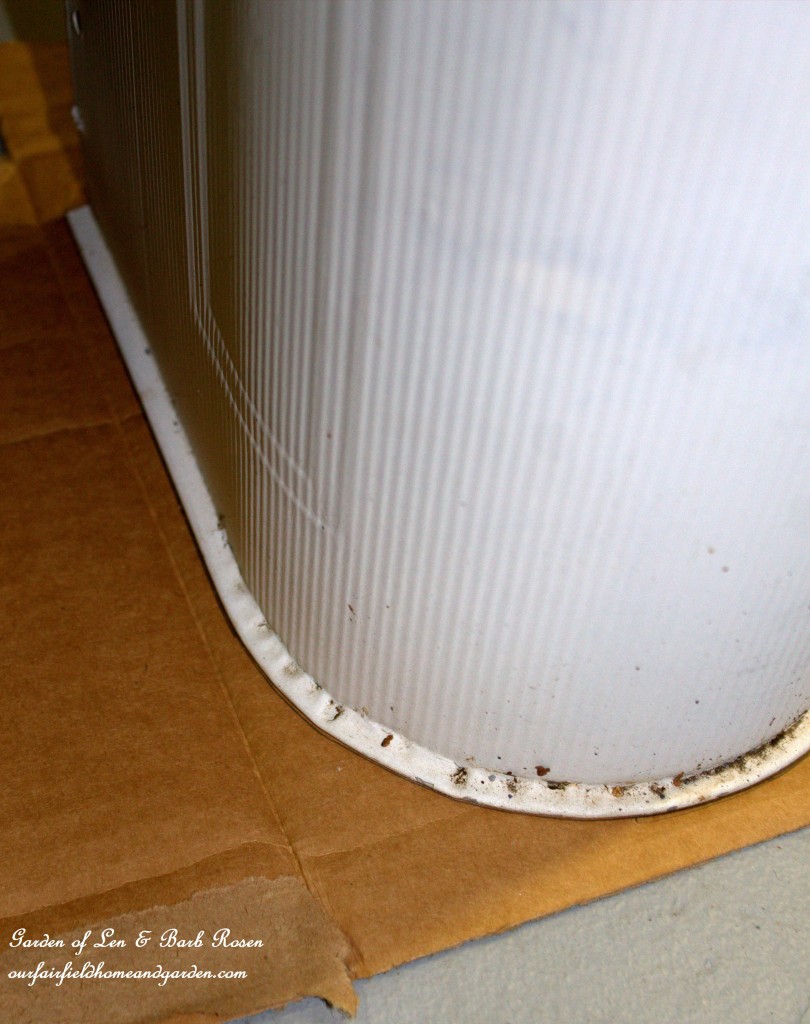
Mailbox Birdhouse ~ make a cardboard template for cutting
After tracing the door opening template onto wood, drill out an entrance hole and cut on your lines. We improvised using a drill and jigsaw but will be investing in some wood boring bits in the future to make this step easier.
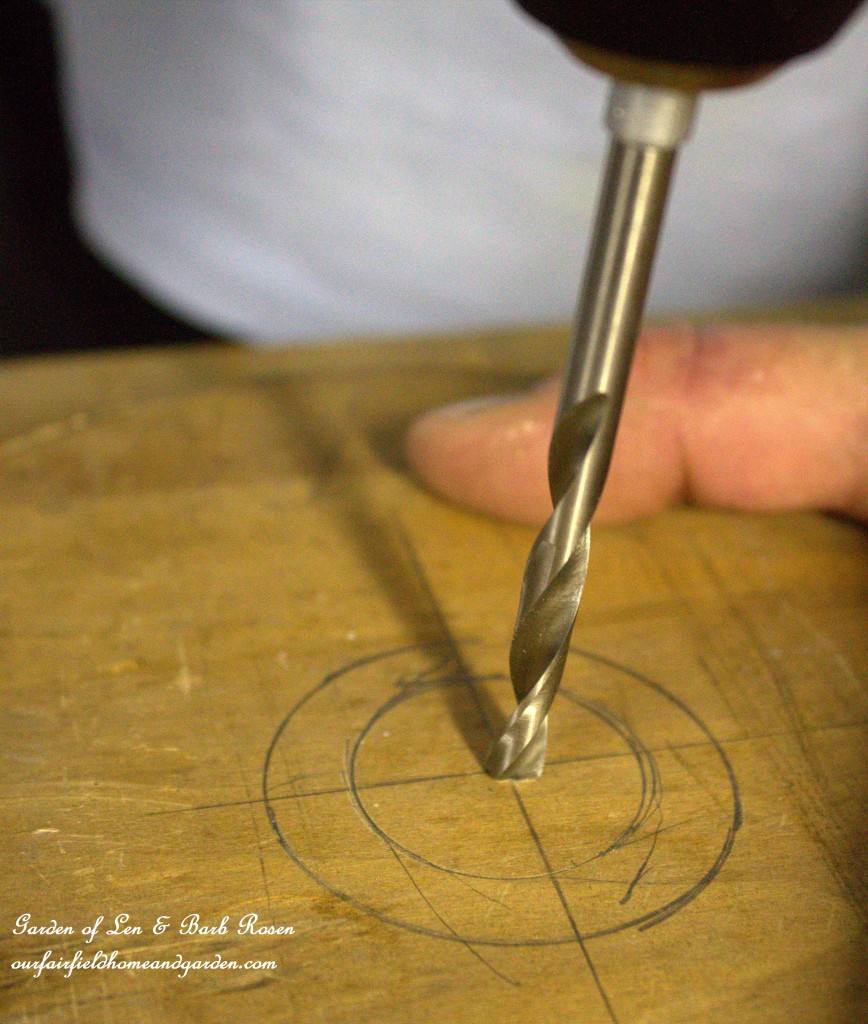
Mailbox Birdhouse ~ Create an entrance hole!
Spray paint the mailbox birdhouse outside in the shade. Lightly coat several times for the best coverage and to avoid paint runs. Let it dry thoroughly before handling.

Spay paint the birdhouse. Do this outside or in a well ventilated area!
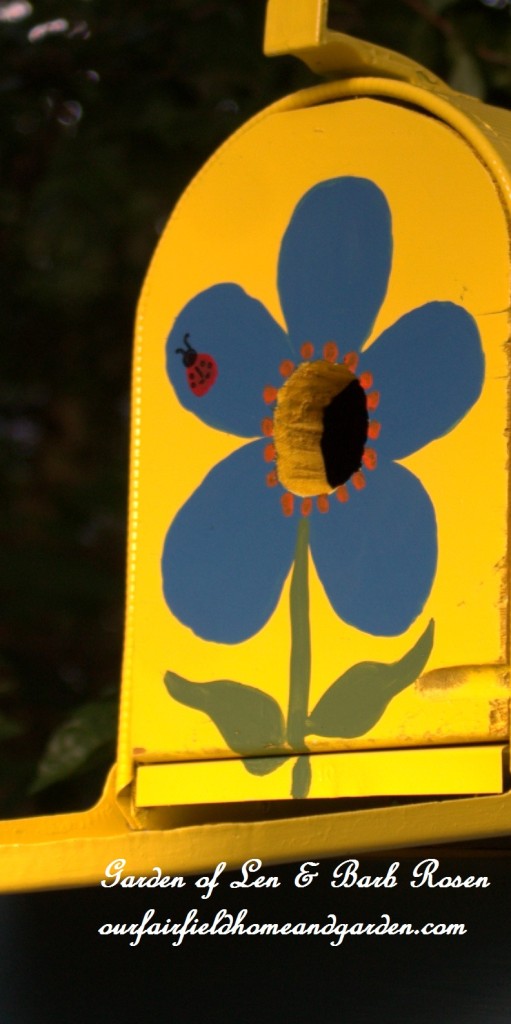
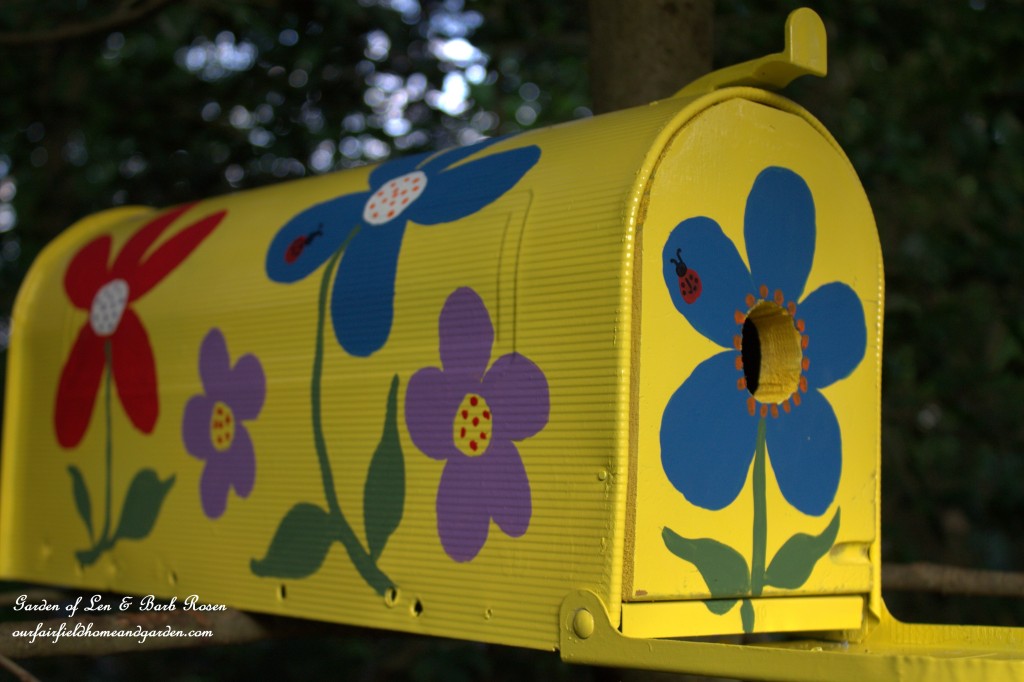
Some stylized flowers and ladybugs painted on in acrylic paint make this little project even more fun! Just draw designs on the mailbox with a pencil, then fill in with permanent acrylic craft paint.
For about five dollars we now have a very cute new spot for the birds! Wonder who will move in?
* note: this birdhouse should be placed in the shade!
Mailbox Birdhouse
Mailbox Birdhouse


Wouldn’t that be kind of hot in the summer since its metal?
Yes, if placed in the hot sun it would get hot! I placed the Mailbox Birdhouse in the shade, no worries! :)
That is so cute. I see metal birdhouses for sale frequently in my travels to use in nice shady spots. This is so adorable–great job as always!
Yes, this was a fun inexpensive project! Thanks for commenting!
Very cute!
Many thanks, Helen!
Here in Hutchinson,MN..Your idea is going to add the finishing touch to my new “bermed” area in my yard! THANKS for sharing!
So happy to hear that, Lisa! I’d love it if you’d share a picture with me when you finish! My FaceBook page is https://www.facebook.com/OurFairfieldHomeAndGarden
I’d live there. You provide room service, correct?
Room service, complimentary birdseed buffet, suet feeding stations and multiple bathing facilities throughout the garden, Empress!
[…] Barb of Our Fairfield Home & Garden turns a mailbox into a fabulous birdhouse. […]