
DIY ~ Easy Greenroof Birdhouses

Make your own Greenroof Birdhouses
Want a Greenroof Birdhouse but have limited carpentry tools and skills? I have just the project for you!
I had been eyeing Greenroof Birdhouses for some time now, wanting to try them in our garden. But the average price of $50 each, not counting the plants, really put me off! So I figured out a way to make them inexpensively and easily too, using cheap ready-made birdhouses and wide molding!
Two Greenroof Birdhouses cost just over $20 to make myself. Follow my simple directions below and make some for your garden, family and friends!
First, buy pre-made birdhouses. These cost only $3 each. Yes, they are pine and won’t last like cedar, but painted they will last a few seasons or more.

Unfinished pre-made birdhouses
The next step is to measure and cut wide trim molding, then nail or screw it in place. Attach molding to all sides of the birdhouse top. This molding was reclaimed wood and cost nothing! Now you have the planting area for your greenroof birdhouse.
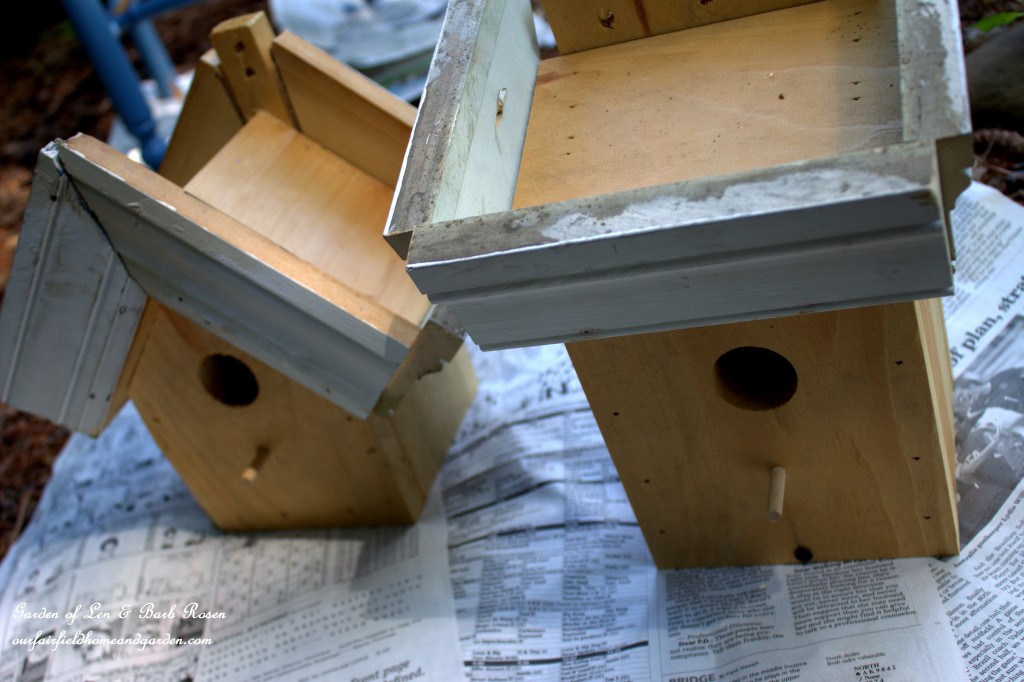
Reclaimed Molding on the Greenroof Birdhouses
Paint the birdhouses with exterior paint and let them dry thoroughly.
Now line the planting area with burlap, part of a shingle or some roofing paper. I already had burlap on hand, so that’s what I used.
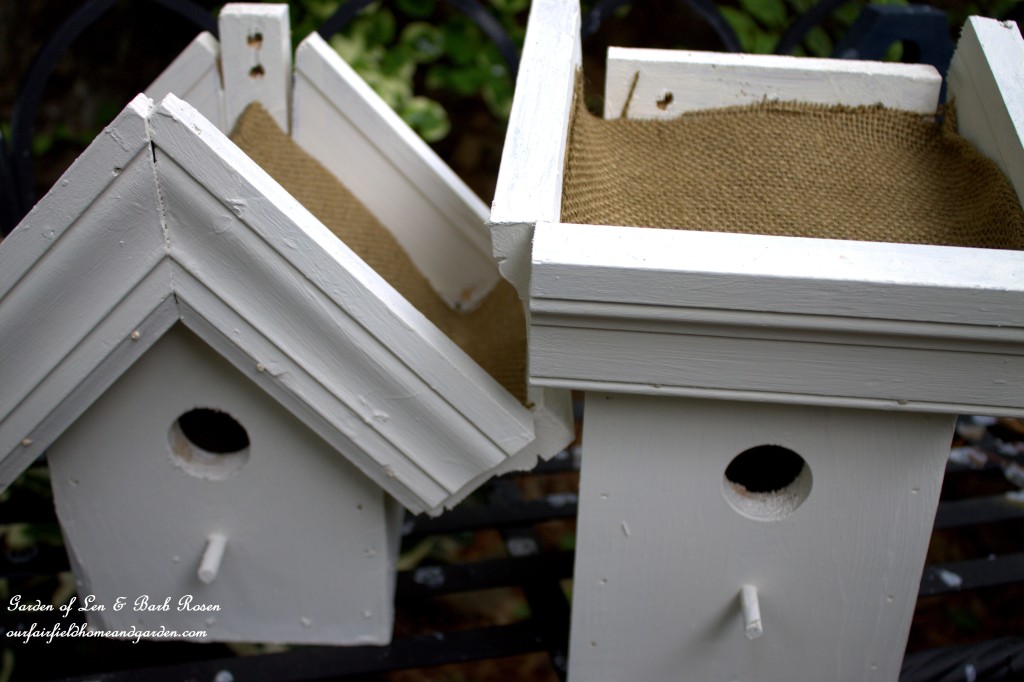
Greenroof Birdhouses ~ Paint and line with burlap
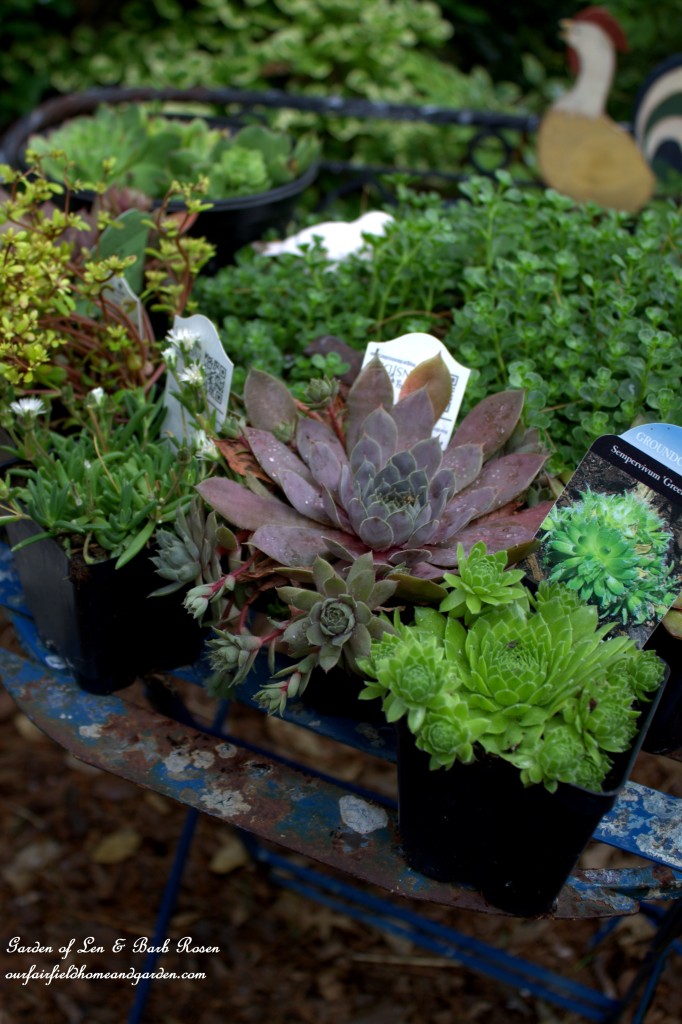
A selection of plants for the Greenroof Birdhouses
Now for the fun part, planting the top of the birdhouse! I bought four pots of sedum, sempervivum (Hens & Chicks) and ice plant, plus dug up some creeping Jenny from my garden. These are all perennials, so you can use starts from your flower beds if you already have succulents! Because they have shallow root systems, these plants are perfect for this project.
Add soil to the top and plant, teasing the dirt away from the roots of the potted plants. I arranged them first to decide on location, then pushed them gently in place. If you like, you could add some gravel. Water them lightly.
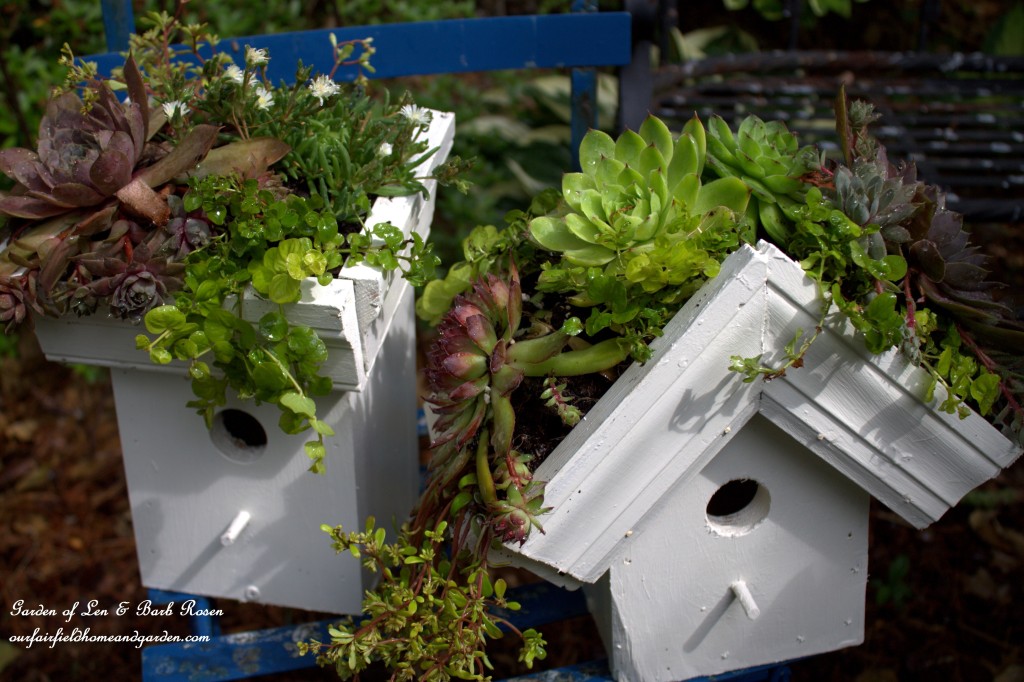
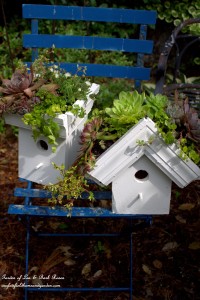
Planted Greenroof Birdhouses
Not hard at all, right? Here are some close-ups of the finished Greenroof Birdhouses. I think they look as good as the pricey planted ones for sale in the garden centers.

Greenroof Birdhouse planted in succulents
Make your Greenroof Birdhouse in any color you wish. Use a variety of different- colored plants to get the effect I did. Or, you could plant the entire top with one variety of plant for a different look.
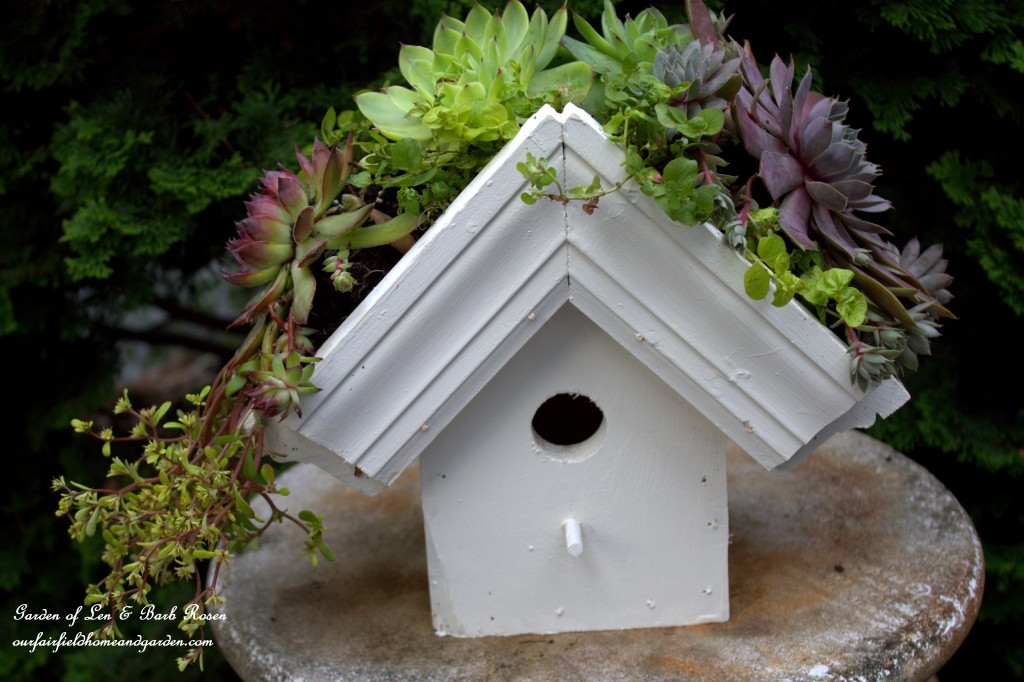
Finished Greenroof Birdhouse planted in succulents
When the birdhouses were finished, I decided to display them on a ladder. Well, that led to another project when I decided they would look better on a painted ladder!
I am quite pleased with the results. After several heavy rains, the birdhouse roof plantings are still doing well. There are just enough cracks between the molding pieces and birdhouses for drainage. The plants are settling in nicely.
Although perennials, these plants are exposed on a shallow roof and I’ll probably take them indoors during our cold winter just to be safe.
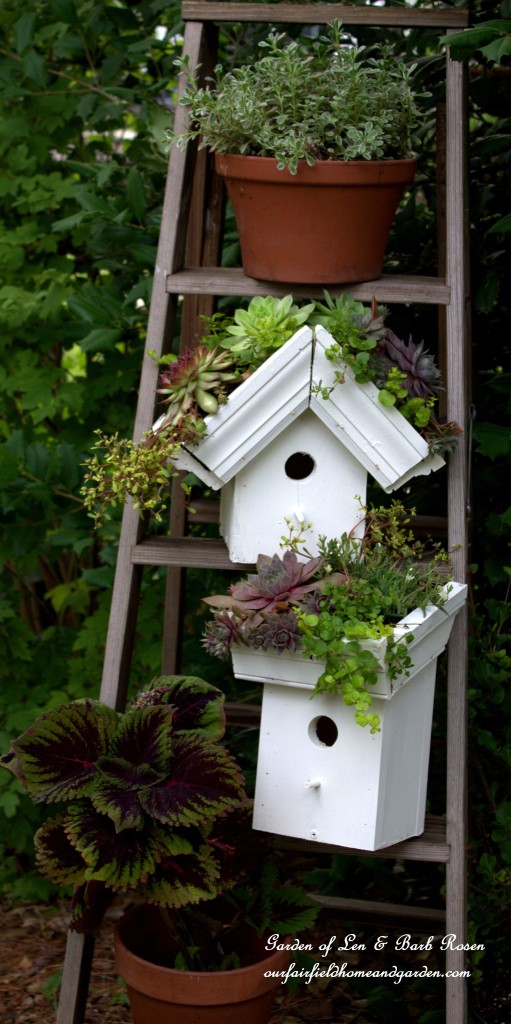
Greenroof Birdhouses
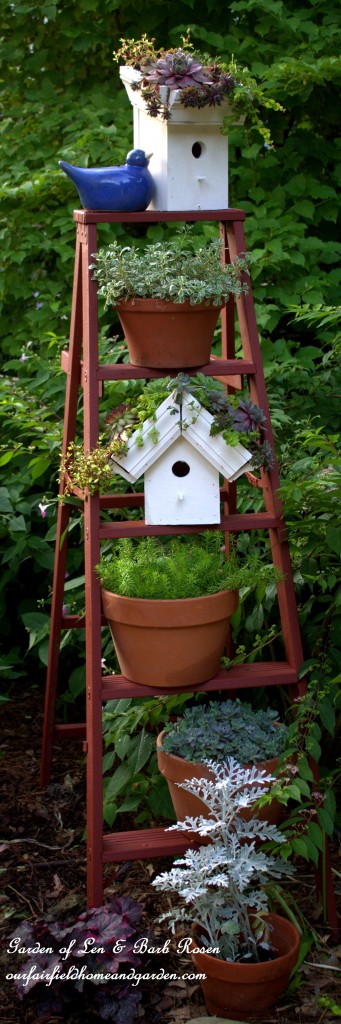
Greenroof Birdhouses on a painted ladder ~ Our Fairfield Home and Garden
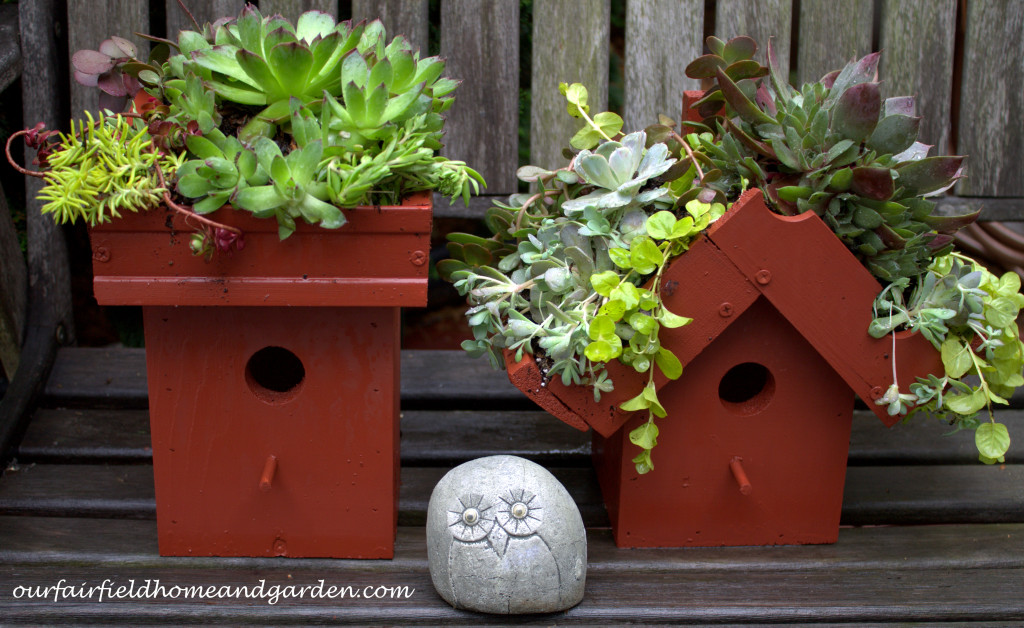
More Green Roof Birdhouses in barn red!
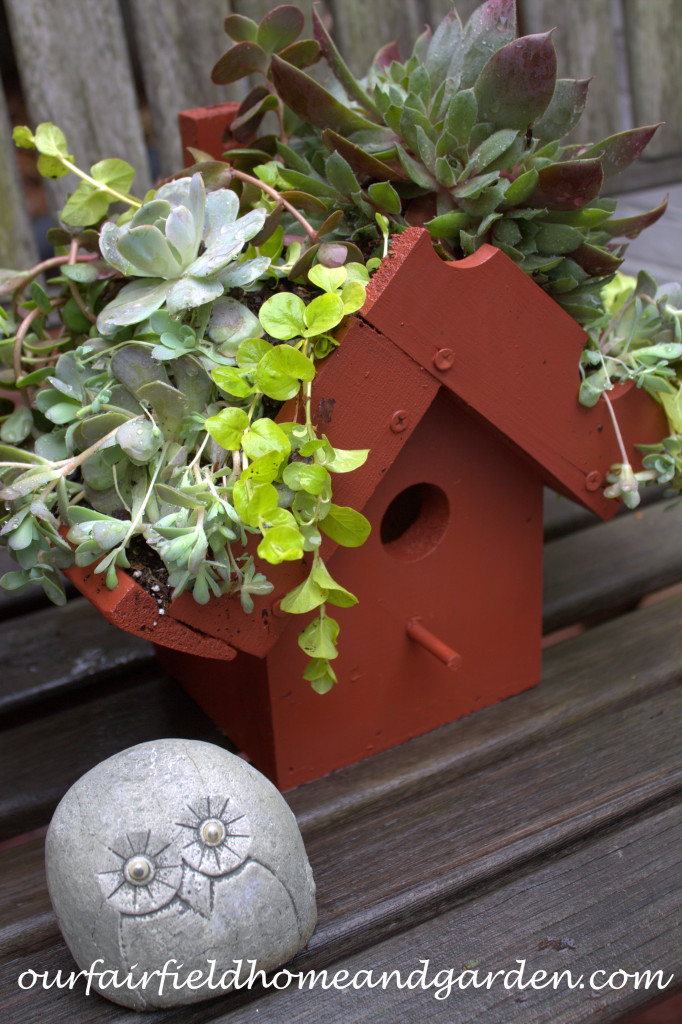
Green Roof Birdhouse planted with succulents!


Oh, I’ve never seen that before! What cool idea!
I have seen lots of greenroof birdhouses but this is an easy one we can all make and afford! :)
as usual barb you come up with the most awesome ideas love it xx
So happy you like the Greenroof Birdhouses, Chris! I had a lot of fun making and planting them!
Aren’t you smart!! What a great idea.
Thanks, Heather! Just happened to have the materials and figured it out! :)
A very cute idea, I will pin this in my gardens board!
Thanks so much for stopping by and your lovely comment!
They turned out really nice!
Arleen
Thanks, Arleen! I was pretty happy with how they turned out too!
[…] Barb of Our Fairfield Home and Garden shows you how to turn a plain birdhouse into a gorgeous succulent bed and breakfast for birds. […]