
DIY ~ Windowsill Windowboxes


Make your own Windowsill Windowbox from gutters!

Materials needed to construct a windowsill windowbox.
What can you do to keep the growing season going? Make an indoor windowsill windowbox and bring the garden in!.
Before buying materials for this project, make sure to check both the width and depth of the sunny windowsill where you will be placing your finished planter. When selecting the gutter, make sure the bottom measurement will fit on your windowsill. You can double check before going off to the store by using the store’s on-line inventory. Product measurements and costs are easy to look up this way.
Home Depot had all the materials I needed: one 120 inch (10 feet) piece of white gutter, matching right and left end caps and a tube of caulk sealant. (I already owned a caulk gun, pliers and tin snips.) I must admit to a small snafu, though. Since Home Depot does wood cuts in the store and cuts things like chain too, I just assumed they would cut gutters as well. Well, they don’t. So I loaded the ten-foot gutter into my Subaru Impreza, leaving the hatchback opened and drove the backroads home hanging on with one hand and driving with the other. Lucky for me we live very close by!
So, if you can’t rig a way to transport and then cut the gutter yourself, you may want to pay a bit more and buy it from a gutter installation company. I cut my 120-inch long gutter into four 30-inch pieces using tin snips. My materials costs were: $6.82 for the gutter, $6.78 for the caulk and $12.35 for 4 sets of end caps. That comes to just a hair over $6.45 a piece for my windowsill windowboxes before adding plants!
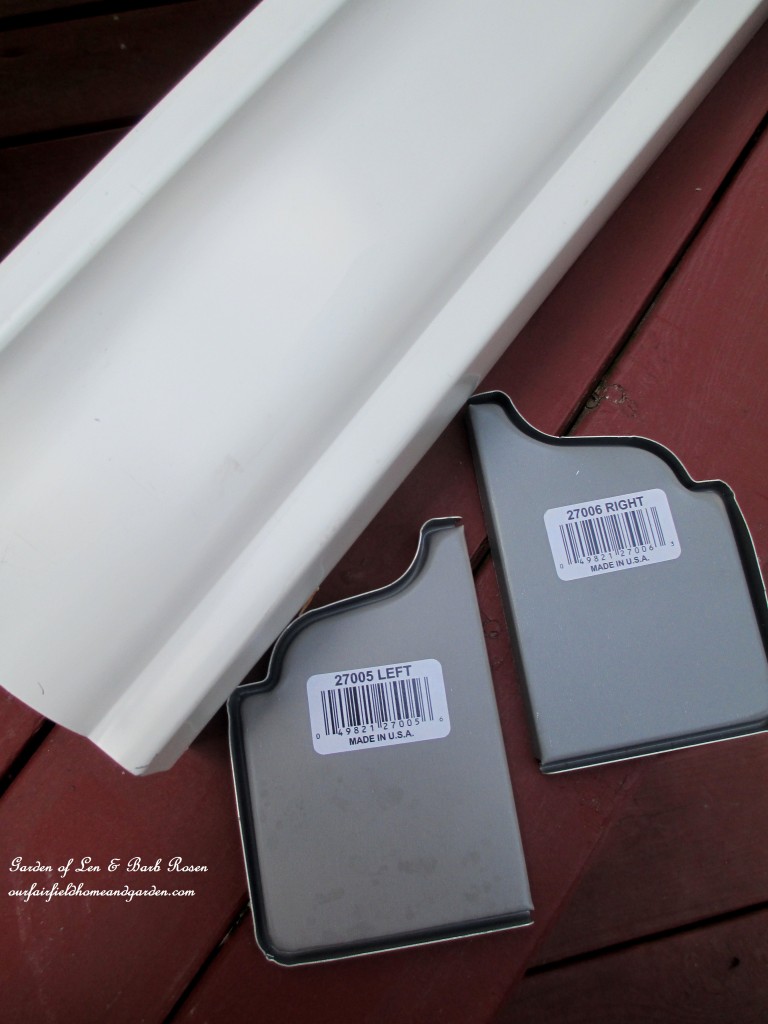
Gutter piece and end caps ~ make sure to have a left end cap and a right end cap for each planter!
Placing the end caps sometimes requires some pushing and squeezing to make them fit. Don’t be shy; you can’t break them! Start with the straight edge and then snap the sides into place. The picture below shows how they should look when on correctly.
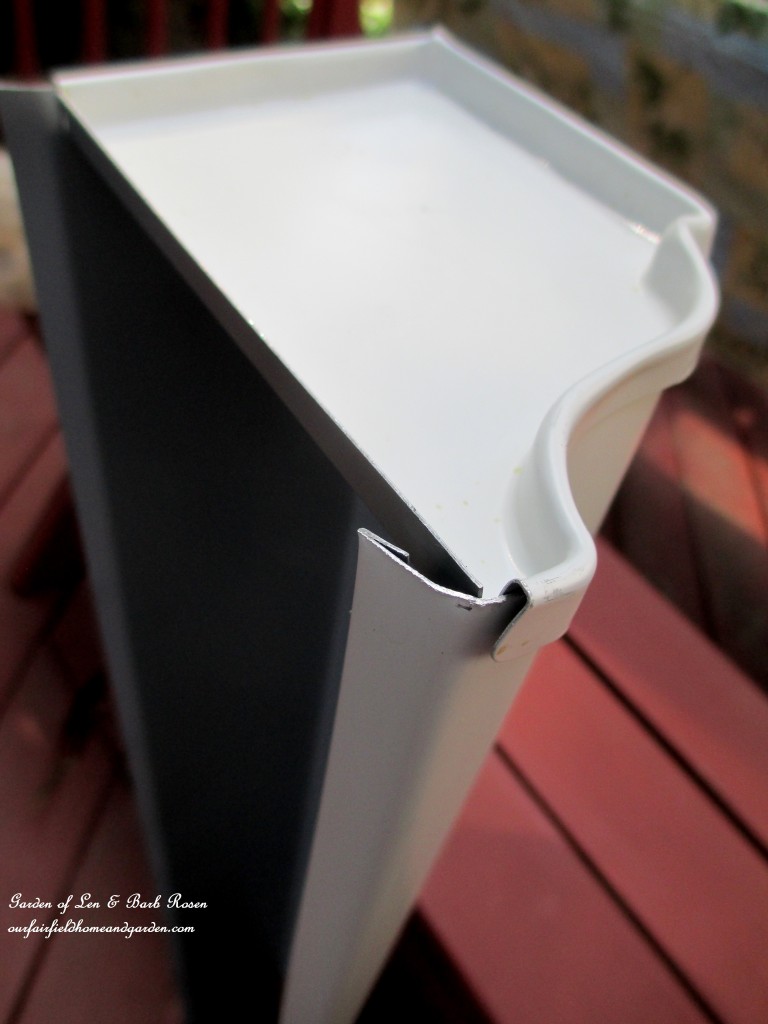
Place the endcaps on the gutter sections as shown.
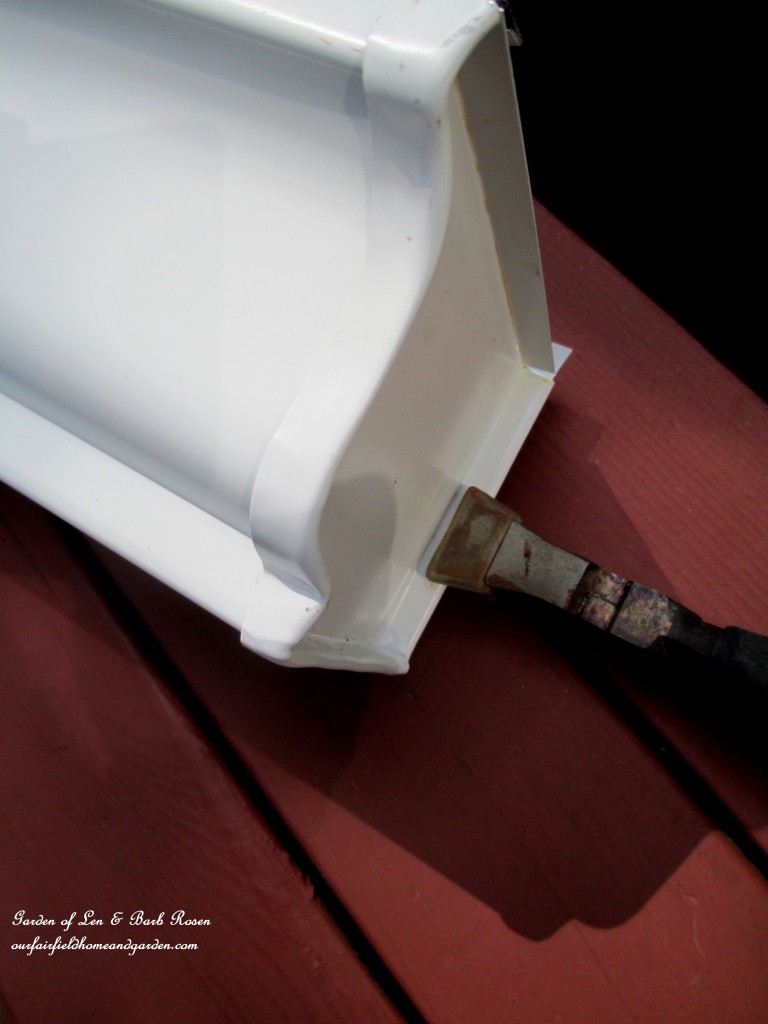
Pinch the end caps with pliers to secure them in place.
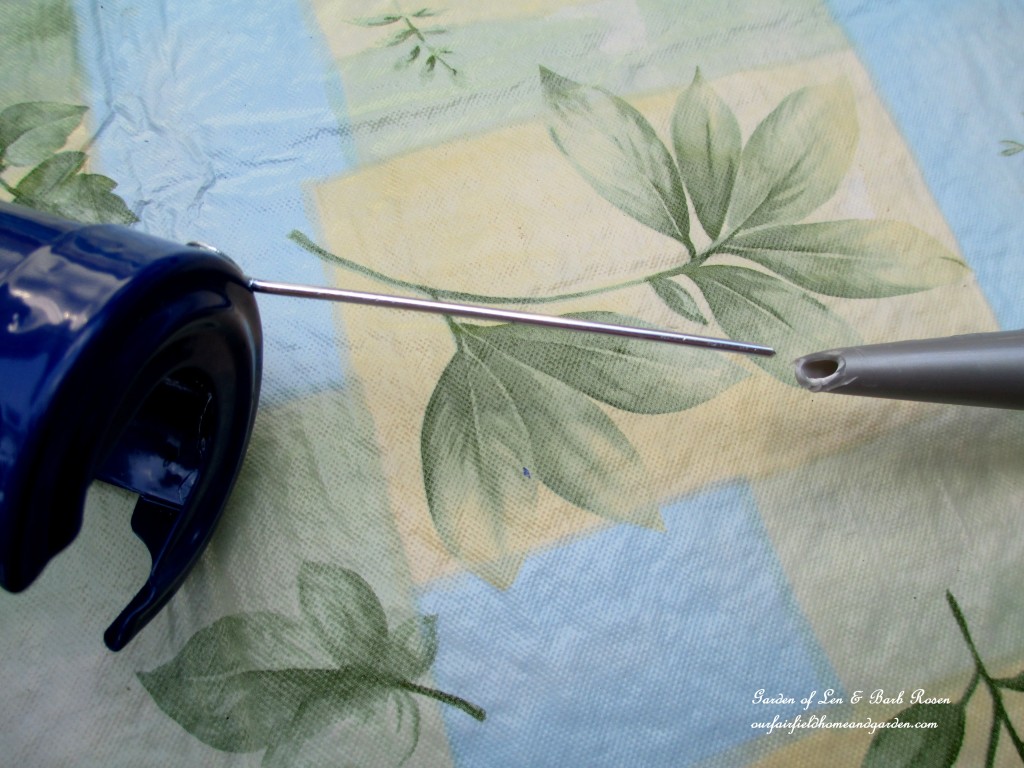
Trim the end of the caulk tube, pierce it through the nozzle and load into your caulk gun.
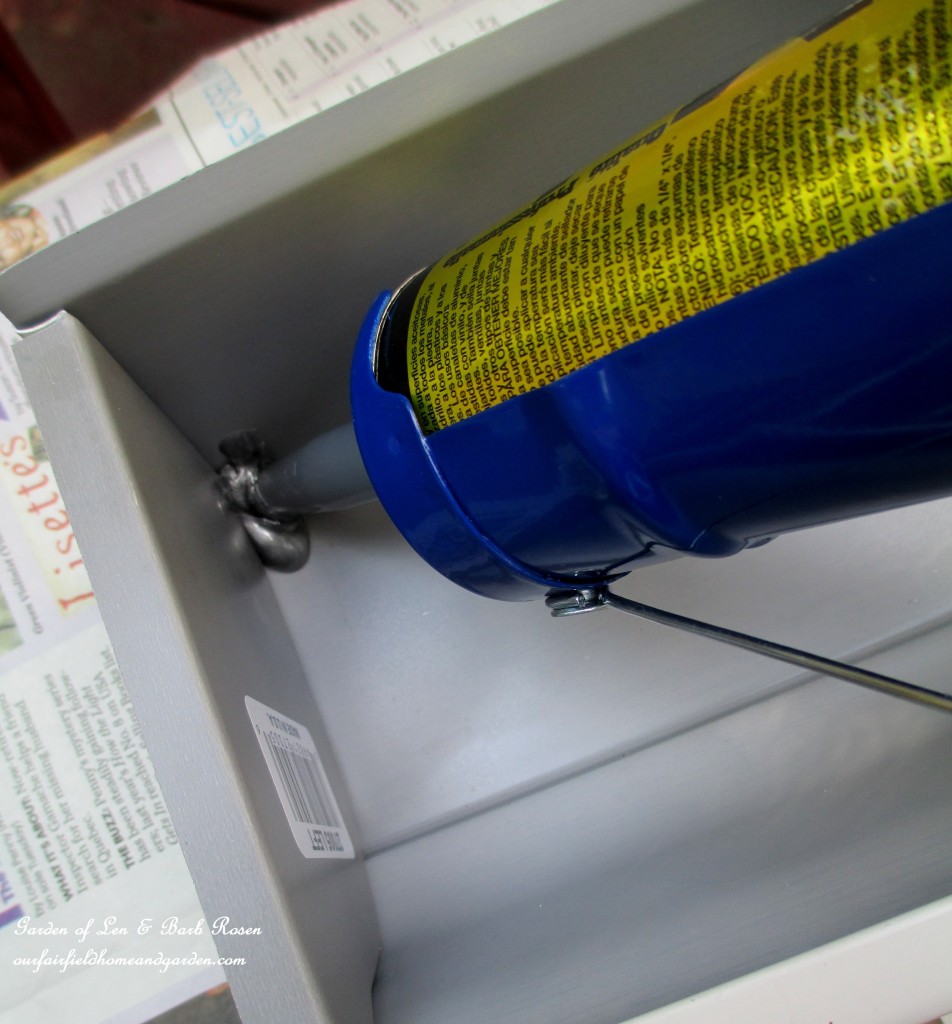
Caulk the planter, filling all seams around the end caps at both ends of the planter.
Let the caulk dry for at least 24 hours so the windowsill windowbox will be watertight. Before planting, line the bottom of your windowsill windowbox with about 1/2 inch of stones or gravel. Since this box will be water tight, this step will add a bit of drainage.
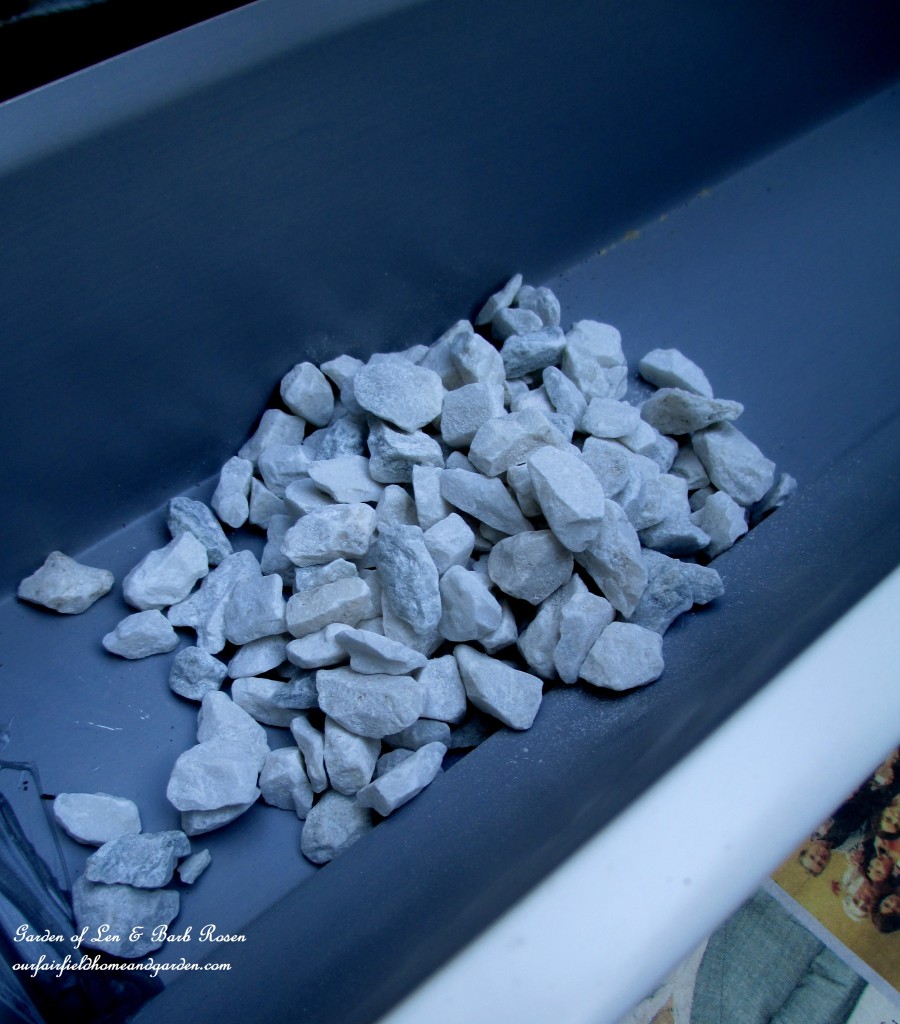
Line the bottom of the planter with stones and plant!
Now select the plants to be used in your windowsill windowbox. Of the many possibilities, I chose herbs for a practical, useful kitchen herb garden. Having found herb plant markers a while back on clearance helped make my decision, but houseplants would be lovely, too.
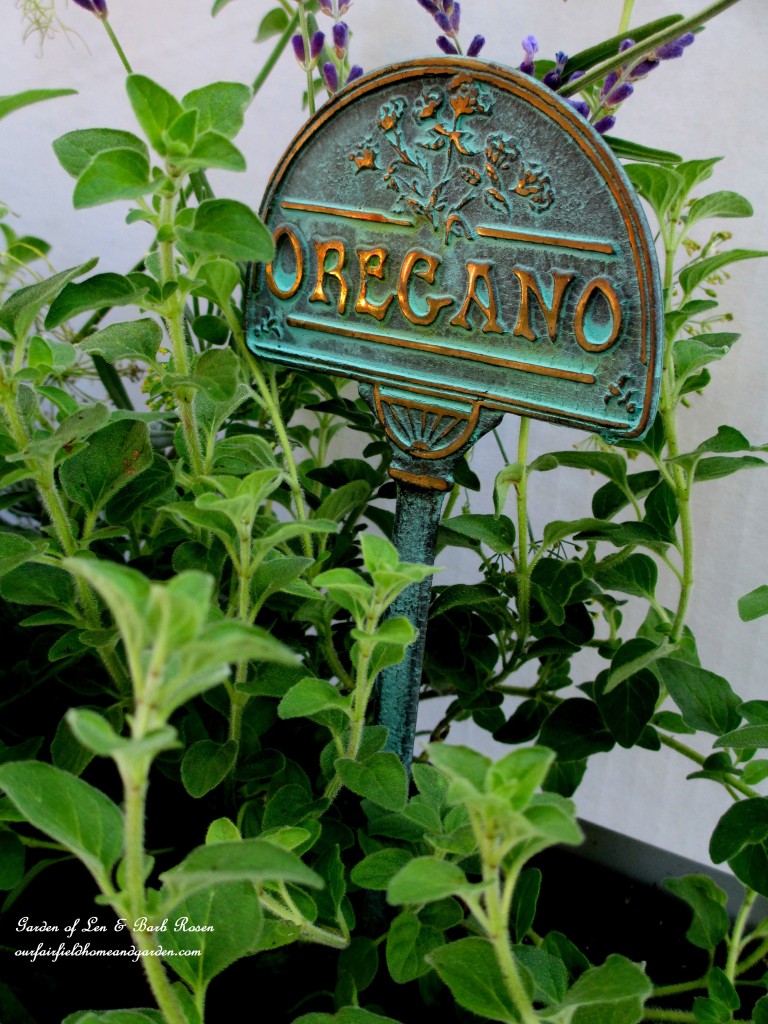
Oregano in the Windowsill Windowbox
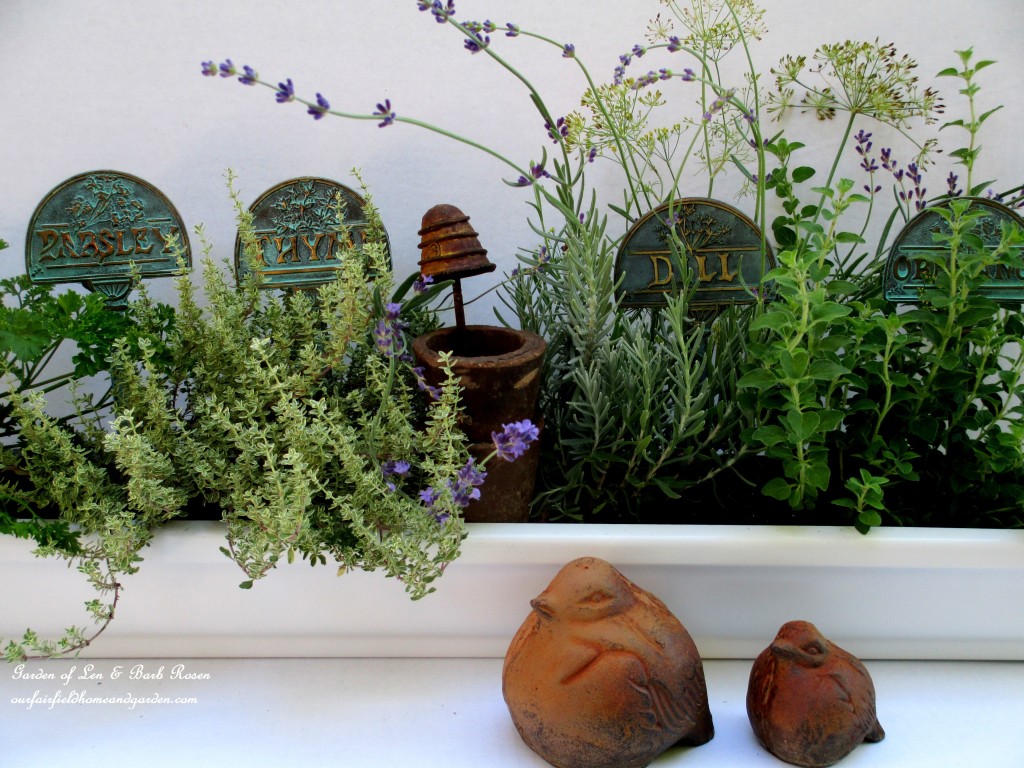
Add plant markers to your windowsill windowbox for a pretty accent. I found these lovely metal herb labels marked down to just $1.00 each! They were perfect for my project and I snapped them up. You could also easily spray paint the planter a different color or apply decorative painting to the sides before planting.
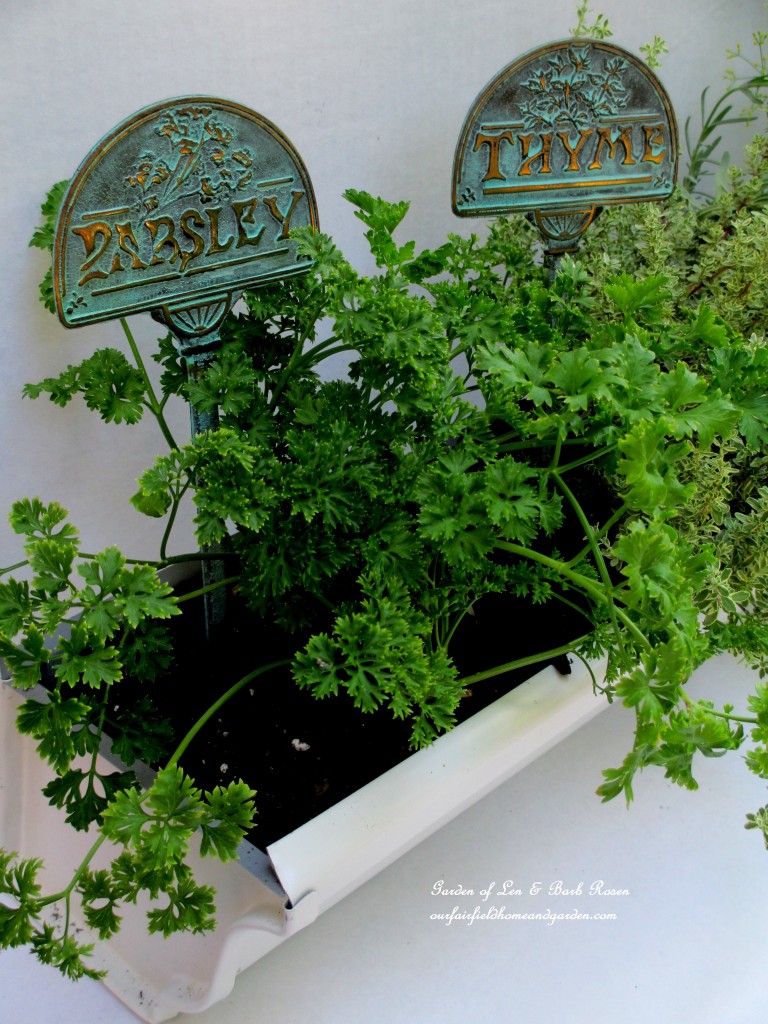
Parsley & Thyme in the windowsill windowbox
Place your completed windowsill windowbox in a sunny window so your plantings get the light they require. Tend them by watering and trimming as you would other houseplants,with only one difference. Only fertilize with organic plant fertilizers if the plants are to be eaten. (Note: Be careful not to over-water your planter)
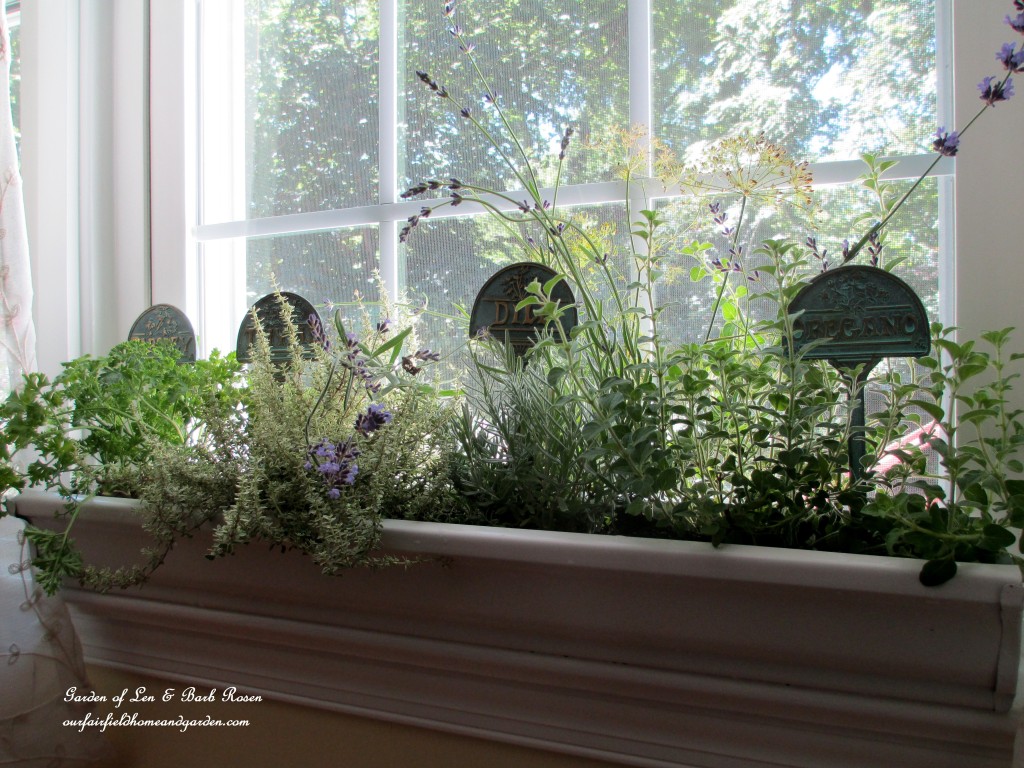
Windowsill windowbox in the window.
Plantings of parsley, thyme, lavender, dill and oregano complete this windowsill herb garden.
Your windowsill windowbox can be used outdoors with a few minor modifications. Drill drainage holes in the bottom of the planter and attach with L-brackets.
Inside or outside, this makes a great small space garden!
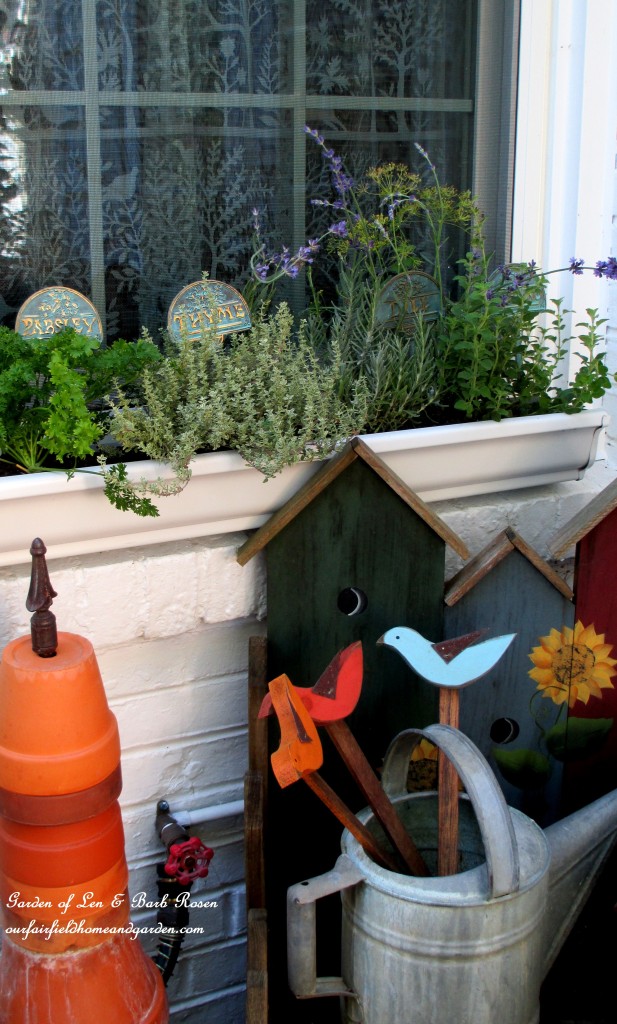
Windowsill Windowbox Outdoors

Kitchen Herbs for all year long!


Lovely project! I would like one on each windowsill — how great would that look?
That would be fabulous! I wish I had that many sunny windows. We have quite a few large trees so most our windows are shaded. But, the kitchen window is sunny and just the right spot for my herbs to grow all winter long!
I have just the window for this! This is such a clever project. Thank you for sharing this tutorial!
Thanks, Jen! Hope you have some fun making a few yourself!
barb this is a fantastic idea our kitchen certainly would look great with one thanks for sharing xx
Thanks, Chris! How handy is that to have an herb garden right in the kitchen? They would make great gifts for gardening friends, too!
I just had a thought , I have a deck and could make it to fit the top railing.! I could secure it to the top to hang it off the side!
Thanks!!
Terrific idea, Lori! Just make sure to drill drainage holes in the bottom of the planter if you use it outside. A big rain might swamp your water-tight plant container otherwise.