
DIY Project ~ Blooming Topiary


Blooming Topiary
At a recent workshop, TheDCH floral instructor, Brenda Tunis, led us through the steps of creating a beautiful blooming topiary. This is an easy, but quite striking floral arrangement perfect for your dining or picnic table.
For this arrangement we used the following materials:
a clay pot & saucer with a plastic insert
3 stems of tall yellow lilies (forms the topiary)
bupleurum (greens), delphinium, alstroemeria, waxflowers to fill in the base
a butterfly or bird can be added as an accent
raffia or ribbon as desired to tie the lilies together
Follow the easy steps below to make your own floral masterpiece! Brenda also suggested that we try using tall stemmed garden flowers for the topiary and herbs and other blooms from our gardens for another blooming topiary version. I can’t wait to try that out!

Step # 1 ~ trim the oasis so it fits into a small plastic container, then insert in your clay pot

Step # 2 ~ place three long-stemmed lilies together and push into the oasis, then tie with raffia or ribbon

Step # 3 ~ use the waxflower, alstroemeria, bupleurum, and delphinium to cover the oasis
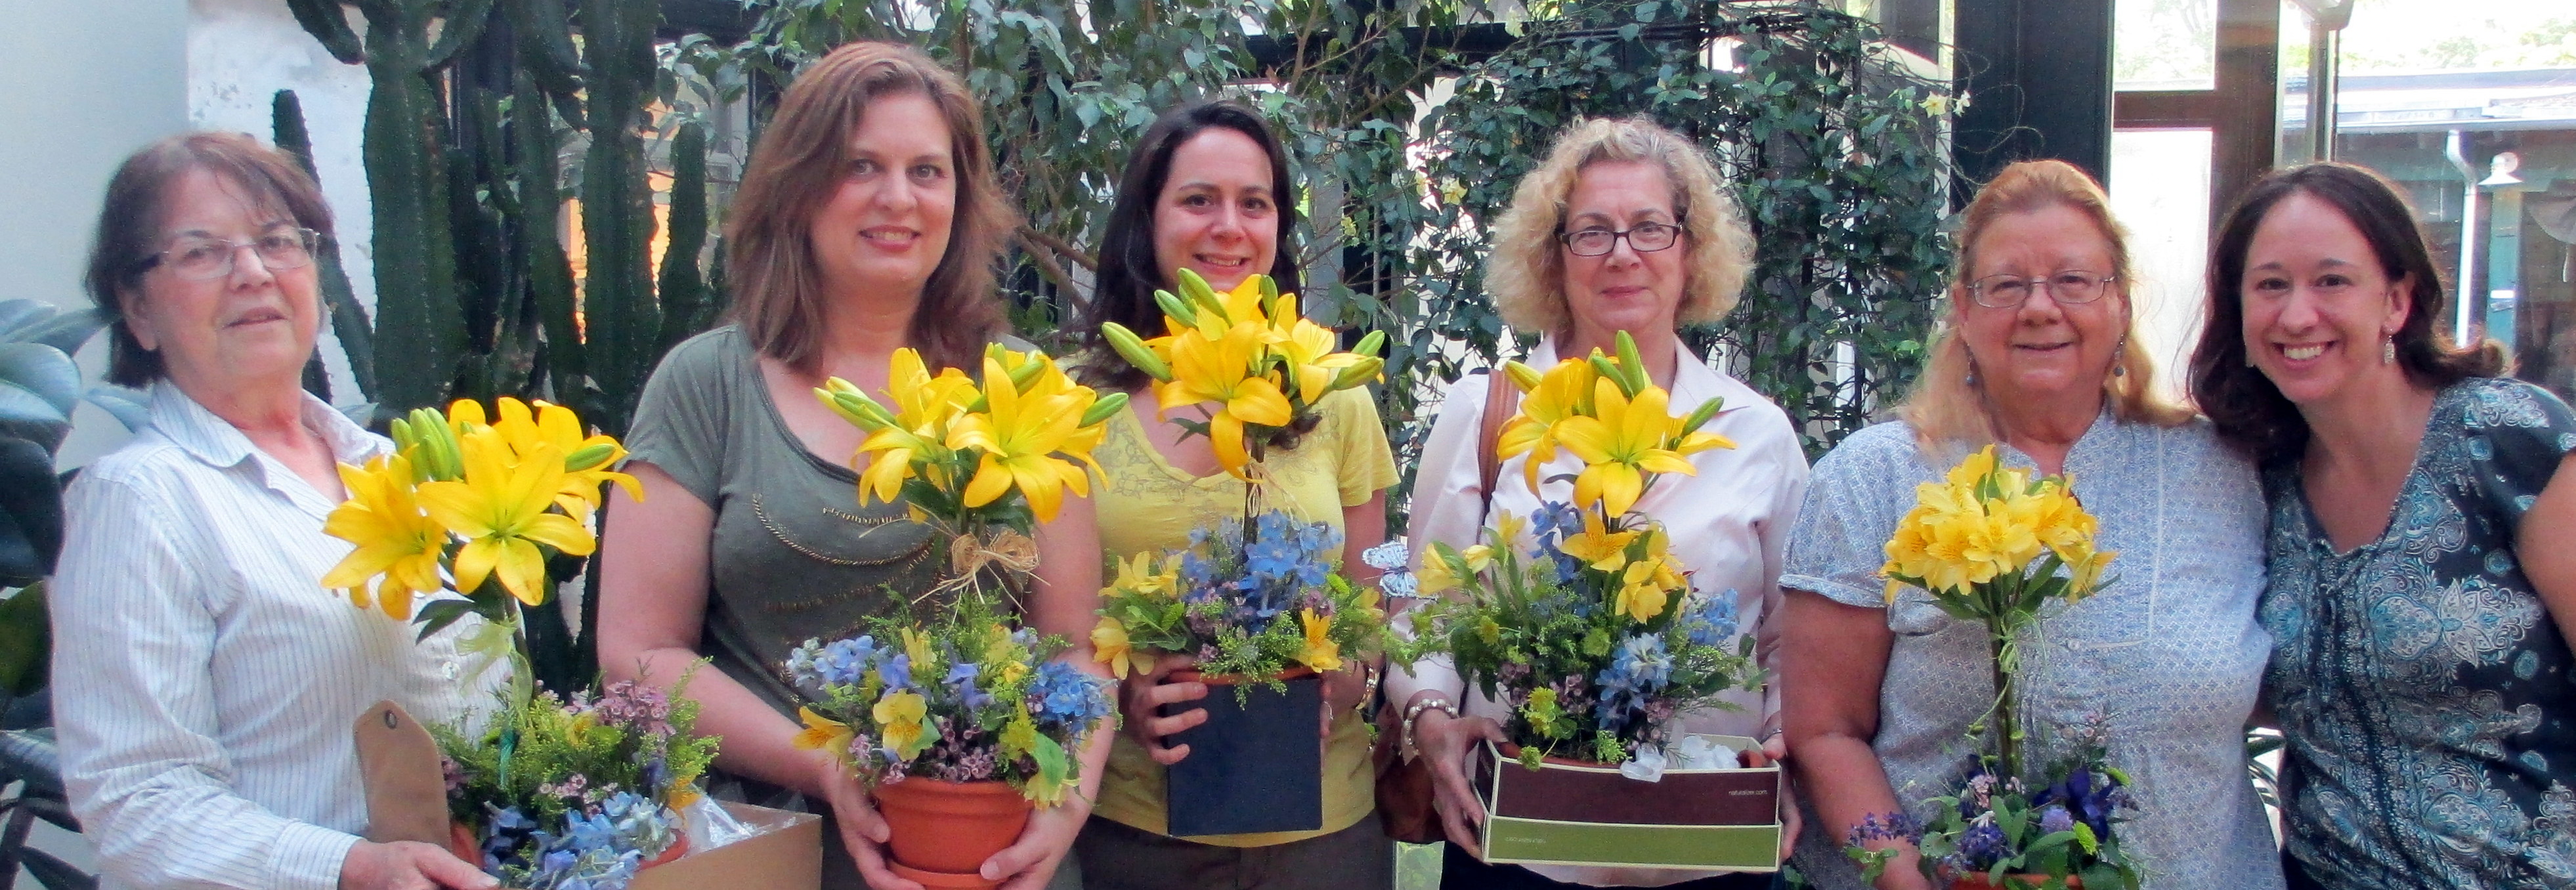
Everyone has a lovely topiary to take home!

~ a blooming topiary arrangement ~


