The “Camp Rosen” firepit DIY project
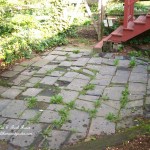
When we moved into our Fairfield home, we fenced in part of the backyard for our Labs and worried about all the other areas of the property and house that needed attention first. So that part of the backyard has pretty much been overlooked for the past four years other than spreading mulch to keep the ivy at bay. Finally, most of the major home repair and upgrade projects were checked off the to-do list and it was time to address the neglected slate patio below our deck.
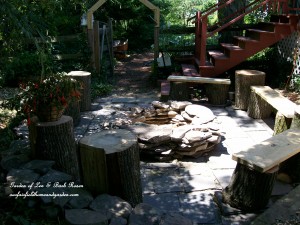
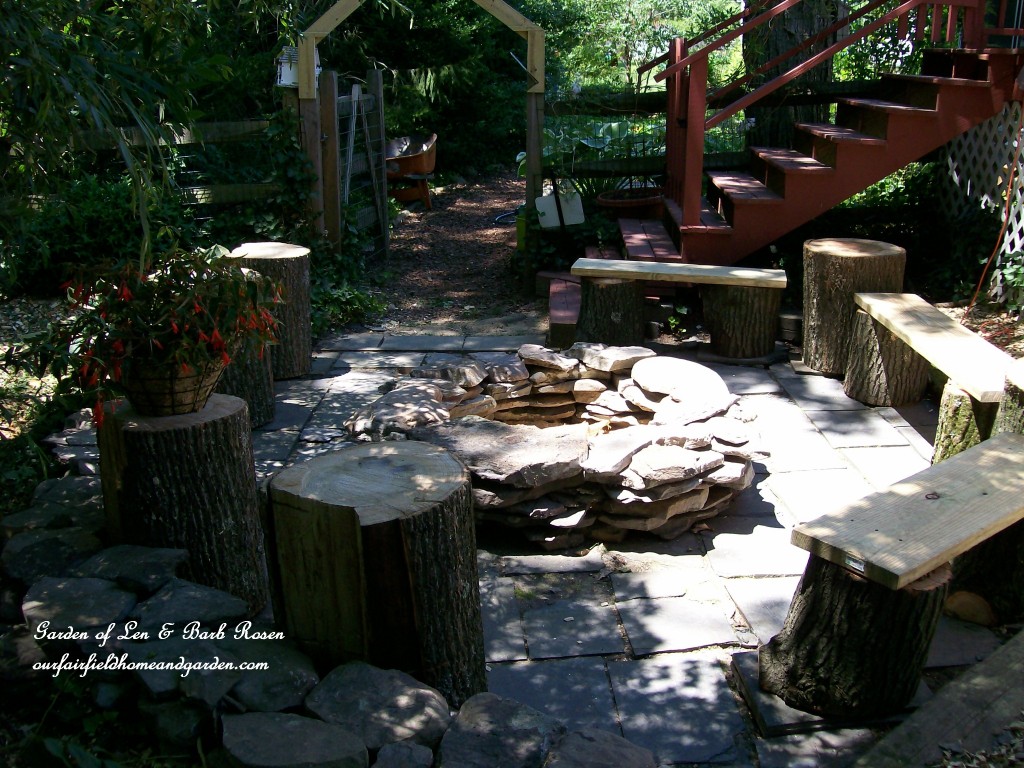
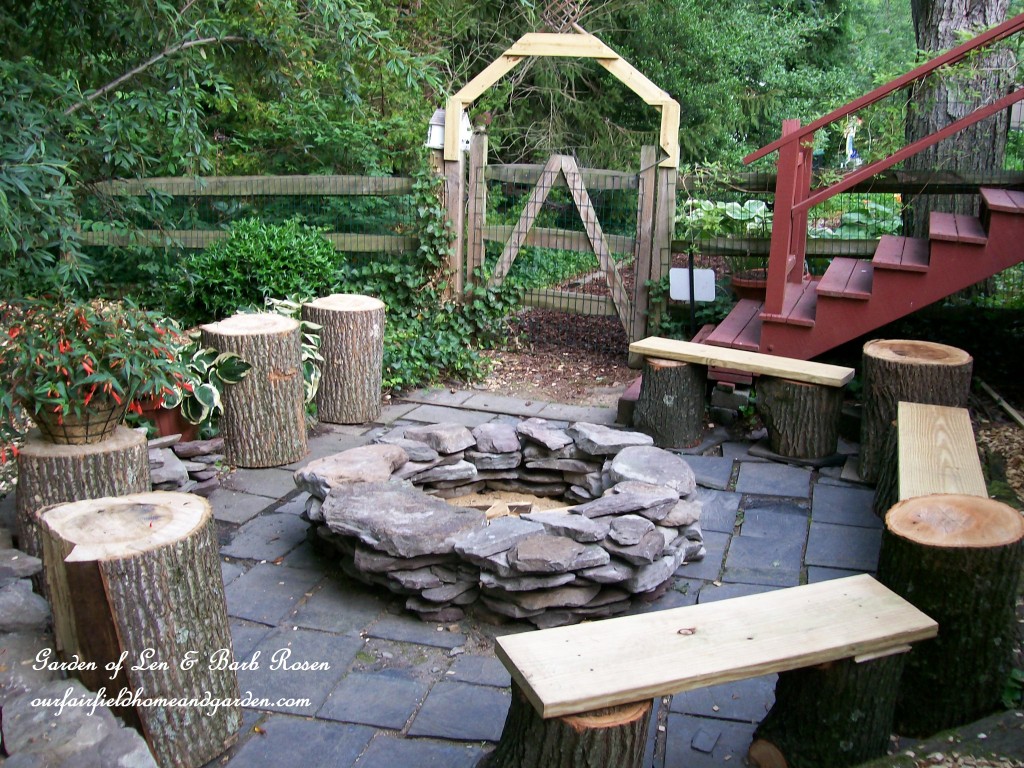
We camped a lot when the kids were small, and always enjoyed campfires and being in the woods. What I wanted to create was our own little “Camp Rosen” and bring that backwoods feel to our own backyard. After some researching on the internet, I found a few pictures of stacked stone firepits and benches made with tree stumps with boards screwed on top – perfect, just what I was looking for!
This was a job that we needed some help with. Len’s back isn’t so good and I wasn’t wanting to lug another pallet of stone solo, let alone large tree stumps. So, this time, we hired Francisco and Jose Tapia, who own a local lawn care/landscaping business, to lend their skills and muscles to the job. They make firepits of manufactured stone and weren’t too sure about what I wanted but, luckily, I had printed those pictures from the internet. We set the date and ordered the Pennsylvania blue stone. At that point, it wasn’t clear when we would do the stumps since the guys didn’t have any tree work scheduled.
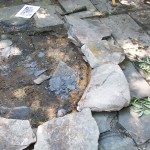
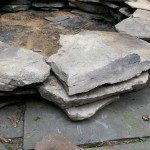
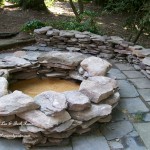
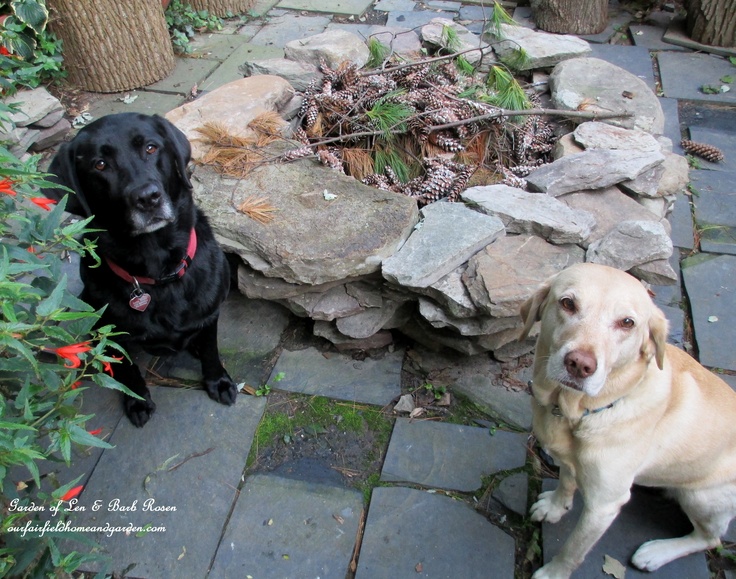
First, I cleared away all the weeds and marked the area where the pit and the benches would go. After removing the slate where the firepit would be placed, we struck a circle using string tied to a nail driven into the dirt at the pit center and marked it on the slate with a pencil. Next, the first course of stone was laid down on our marked circle. These were larger flat stones and a level was used to check that the sides roughly even. As the courses were laid, stones were set on so they overlapped the previous row of stone. Smaller stones were used to shim and strengthen each level to keep the structure sturdy. Stones that weren’t flat enough or too small were set aside. Four courses of stones were laid in this way, with the final row being larger stones again.
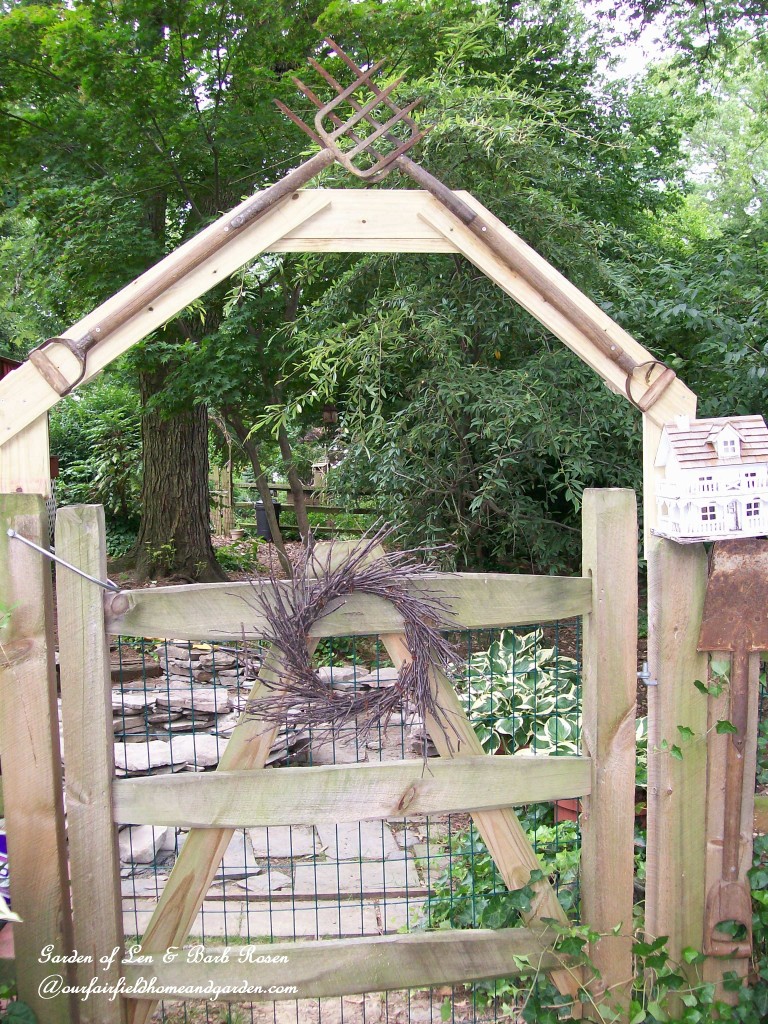
While Francisco and I laid the stones for the firepit, Jose built the arbor for the entrance using a plan I had drawn up incorporating two old pitchforks. He did a wonderful job and it adds to the camp feel.The firepit took about a half of the pallet, so we also built a small stacked wall with some of the extra stone to enclose the area and I still have some rock left to do future garden projects.
While we were stacking the wall, Francisco heard chainsaws a few streets over and went to investigate. Back he came with his pick-up loaded with tree stumps! Not only that, he had asked if we could have the mulch to redo the fenced in yard. So, we ended up with, not one, but two, truckloads of mulch and the entire yard area got about eight inches of mulch applied! How resourceful and how great to save all that money too!
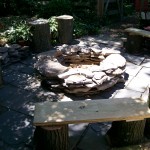
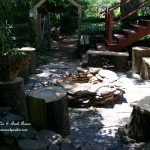
Benches followed and I was thrilled to have two men pushing and pulling those stumps. I can lift about 100 pounds, but these were way heavier! Francisco and Jose first cut the bench stumps to 16 inches and the table stumps to 20 inches with their chainsaws. All the stumps were put into place and two 3 1/2 foot benches and one 5 foot bench were cut from a wide 12 foot long board of salt treated wood. Two tree stump tables were put between the benches and we still had some stumps left over. Those were placed as extra seats, tables or spots to put a plant or two.
A little clean-up and the firepit area was completed. Two very hot days with temperatures in the upper 90’s, but a lot of satisfaction in a job well done.


